
How to plan releases and milestones
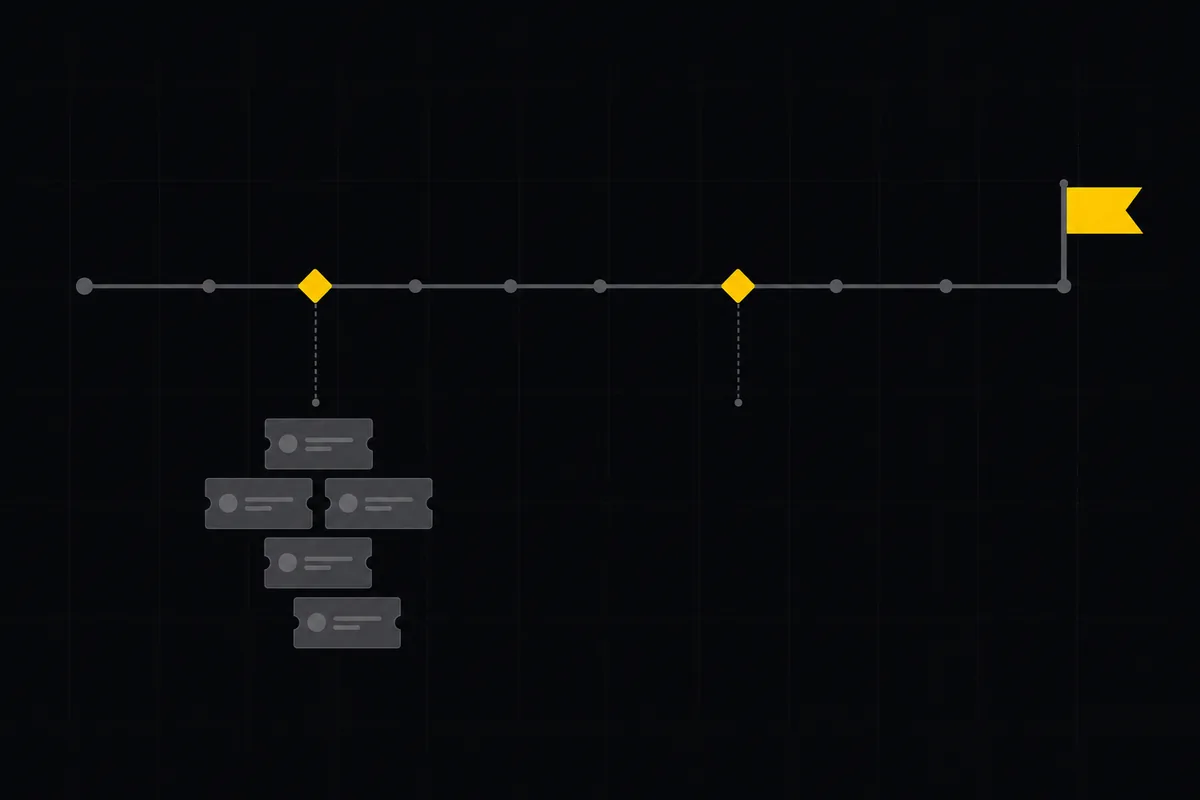
You've got thirty issues piling up in project WEB and a stakeholder asking "so what's actually shipping in v1.2, and when?" A backlog can't answer that. It's a pile, ranked at best. What you need is software release planning: milestones and releases that draw a line around a set of issues and give it a name, a date, and a way to see how close it is to done.
Utter has two features built for exactly this, and they sit right in your project tab bar. This tutorial walks both end to end using project WEB as the running example: how to create a release and a milestone, how to attach issues, how to read the progress meter honestly, and how to tell releases, milestones, and sprints apart so you reach for the right one. By the end you'll answer that stakeholder in about ten seconds.
Software release planning with milestones: what the two features actually are
Your backlog is a flat, ranked list of everything open. That's the right shape for deciding what to work on next. It's the wrong shape for answering "what's in the next version, and are we close?" Nothing in a backlog groups thirty issues into "this is v1.2" and tells you eighteen of them are done.
That's the gap releases and milestones fill.
A release is a versioned bundle of work you track from planned to shipped. It carries a version string (like v1.2.0), a status that moves Planned to In progress to Released, and a single target date. It answers "what ships in this version."
A milestone is a dated grouping for a release or an iteration. It has a start date and a due date, so a range rather than a single point, plus three statuses and a progress meter. Read it as "this body of work, between these two dates."
Both live in the project tab bar, next to Sprints, Board, List, Calendar, Timeline, and Mindmap. In project WEB they're at their own tabs, Releases and Milestones. Open Releases on a fresh project and you land on the empty state, because nothing's been created yet.
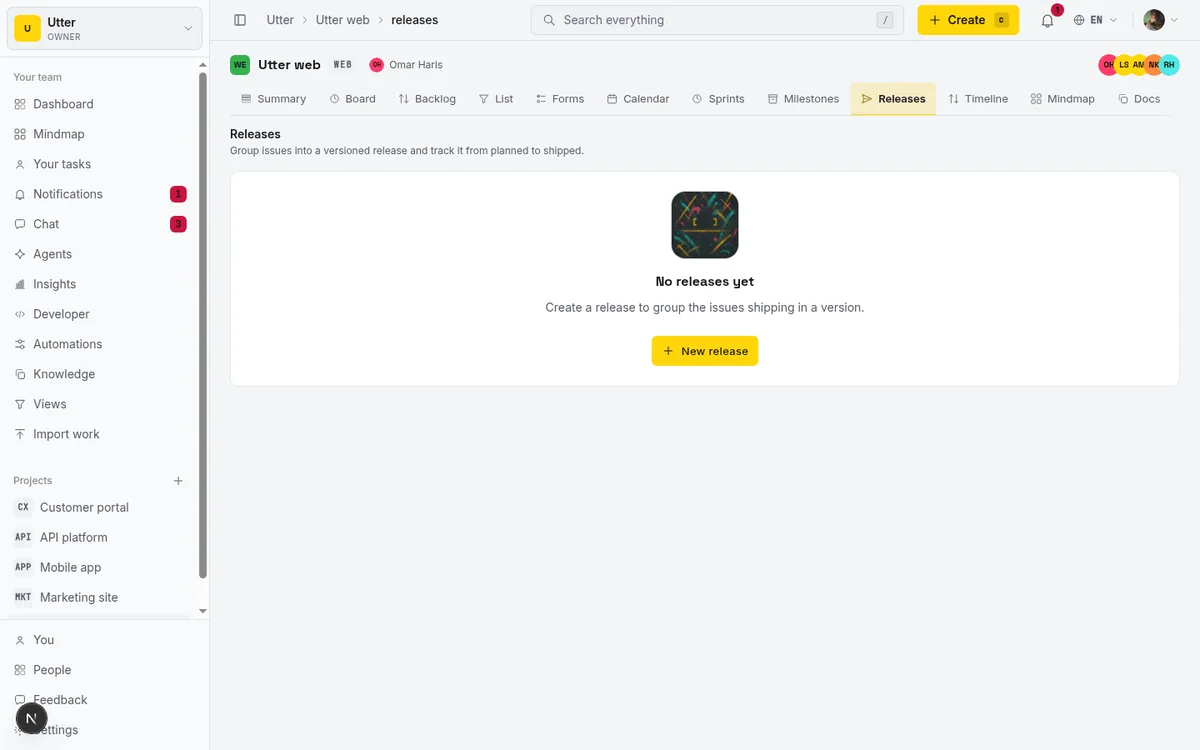
That "No releases yet" screen, with the line "Create a release to group the issues shipping in a version," is your starting point. If you're following along on the demo instance, this is exactly what you'll see. The seed doesn't create any releases or milestones for you. You build them yourself, which is the whole point of this tutorial.
Releases vs milestones vs sprints (which one to reach for)
This is the single most confused distinction in the product, so let's settle it before you create anything. Three features, three jobs.
| Release | Milestone | Sprint | |
|---|---|---|---|
| Job | Versioned shipping | Dated grouping of work | Short time-boxed iteration |
| Statuses | Planned, In progress, Released, Cancelled | Planned, Active, Completed | Its own lifecycle on the Sprints tab |
| Dates | One target date | Start date and due date | Usually one or two weeks |
| Extras | Version field, AI release notes, GitHub auto-ship | Name and progress bar deep-link to a filtered List | Active-sprint pill in the project header |
Releases are for versioned shipping. Four statuses: Planned, In progress, Released, Cancelled (color-coded neutral, yellow, green, pink). They carry a Version field, a single Target date, AI-drafted release notes, and can auto-ship from a GitHub tag. Reach for a release when the thing you're planning has a version number and a "we shipped it" moment.
Milestones are for dated groupings. Three statuses: Planned, Active, Completed. They have a Start date and a Due date, and that's the extent of it. No version field, no AI notes, no GitHub integration. Reach for a milestone when you want to draw a dated box around a chunk of work that doesn't map cleanly to a single version, like "Q3 onboarding rework" or "beta hardening."
Sprints are something else. A sprint is the short, time-boxed iteration your team runs, usually one or two weeks, and it lives on its own Sprints tab with an active-sprint pill in the project header. If milestones and releases are the long-horizon groupings (weeks to months), a sprint is the short loop you run inside them.
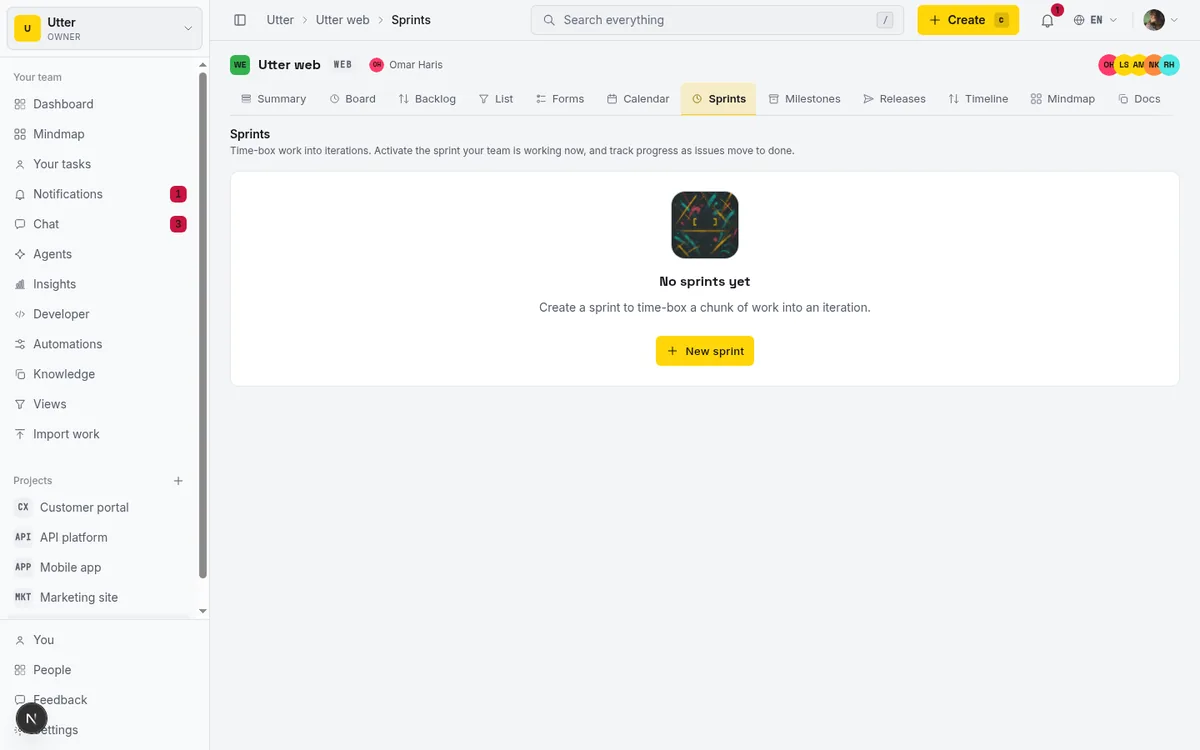
An issue can sit in a sprint and a milestone at the same time, which is normal. The sprint says "we're working on this now," the milestone says "this belongs to the beta." If you want to run that short loop, it's a separate workflow covered in how to run a sprint.
The rule of thumb, as a picture:
flowchart TD
    Q1{Has a version and ships?} -->|yes| R[Release]
    Q1 -->|no| Q2{A dated chunk of work?}
    Q2 -->|yes| M[Milestone]
    Q2 -->|no| Q3{Work for this week or next?}
    Q3 -->|yes| S[Sprint]
How to create a release in a project
From the Releases tab, click New release. That opens the New release modal. Every field here earns its place, so let's walk them.
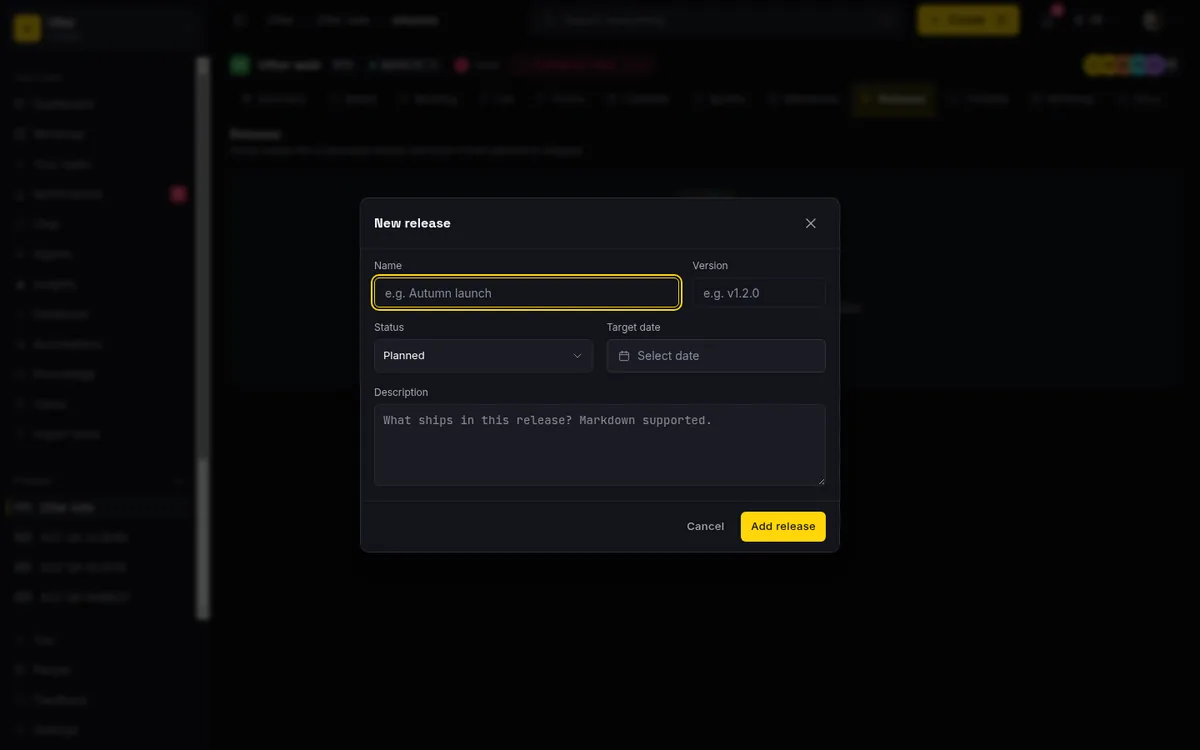
- Name is required and caps at 120 characters. This is the human label, not the version, so make it read like something a stakeholder would recognize. "Autumn launch" is a good name. "v1.2.0" is not, because that's the version. Good names describe the moment or the theme, not the number.
- Version is optional, up to 64 characters, and always renders left-to-right even in an Arabic workspace, because version strings are Latin and numeric by convention. Something like v1.2.0. Leave it blank if this release isn't tied to a semantic version and you just want a named bundle.
- Status starts at Planned, and you'll almost always leave it there when you first create the release. The four states are Planned, In progress, Released, and Cancelled, each with its own color so you can scan a table and read state at a glance.
- Target date is the single date you're aiming for. One date, not a range. That's the sharpest difference from a milestone, and it matters.
- Description is markdown, up to 10,000 characters. This is where you write what the release is about, link to a spec, or list the highlights. It's also the field the AI release-notes feature fills in later, so it's worth having.
Save with Add release.
One behavior worth knowing up front: when you eventually move a release to Released, Utter stamps the ship time at that moment. Move it back out of Released for any reason and that timestamp clears. You never set it by hand. The status change is the ship event.
stateDiagram-v2
    state "In progress" as ip
    [*] --> Planned
    Planned --> ip
    ip --> Released: ship time stamped
    Released --> ip: ship time cleared
    Planned --> Cancelled
    ip --> Cancelled
Track release progress from planned to shipped
Once you've got a release or two with issues attached, the Releases table earns its keep. Each row shows the name (with a version chip if you set one), a color-coded status badge, the target date, and a progress meter.
That progress meter is the part people misread, so here's exactly what it means. It shows done / total of the live issues attached to the release, with a tooltip that reads "{done}/{total} done". "Total" is every non-deleted issue attached. "Done" is every attached issue whose status category is done or cancelled. Yes, cancelled counts as done for this meter. A cancelled issue is resolved. It's not outstanding work anymore, so it shouldn't drag your bar down forever.
Read the meter as a done-count, not a percentage of effort. It is not a percent-complete slider and it is not a story-point rollup. If a release shows 18/30, that means eighteen of the thirty attached issues are resolved, full stop. A three-line bug and a two-week epic each count as exactly one issue here. Keep that in mind before you promise a stakeholder you're "60% done" in any effort sense.
You can edit a release without opening the modal:
- Status and target date are editable inline, right in the table row. These edits are optimistic: the UI updates instantly and reverts if the server rejects the change. Moving a release from Planned to In progress is a one-click affair.
- Ordering is manual. Drag a release by its move handle, or nudge it with the up and down chevrons. The order persists via LexoRank under the hood, with the target date as a tiebreak, so releases you haven't explicitly ordered still fall into a sensible date order.
One honest limit: there is no release detail page. The release row doesn't link anywhere. The table is the whole surface for a release, so everything you need to know lives in that one row. Milestones are different here, as you'll see next.
How to create a milestone and set due dates
Switch to the Milestones tab and click New milestone. The New milestone modal looks similar, but the fields tell a different story.
- Name is required, max 120 characters, same as a release. "v1.0 launch" or "Beta hardening" both work.
- Status offers three states: Planned, Active, Completed. These are not the release statuses. A milestone doesn't get "Released" or "Cancelled." It's Planned before you start, Active while work is happening, Completed when the dated chunk is done.
- Start date and Due date are the headline difference from a release. A milestone spans a range. And Utter validates it: set a start date that falls after the due date and it stops you with "Start date must be on or before the due date." A release, by contrast, has only that single Target date. If the thing you're planning has a beginning and an end you care about, that's a milestone.
- Description is markdown, up to 10,000 characters, same as a release, minus the AI drafting. Milestones have no AI notes.
Save with Add milestone.
The milestone table shares the release table's progress meter and the same reorder mechanics (drag handle or chevrons, LexoRank with due date as the tiebreak). But milestones have one thing releases don't: the milestone name and its progress bar are links. Click either and you're taken to the List view filtered to that milestone, with the URL carrying /list?milestone=<id>. That's your live "everything in this milestone" view, and it's genuinely useful.
A release row links nowhere. A milestone links to its filtered list. If you want a clickable, always-current view of a grouping's issues, that alone is a reason to reach for a milestone.
Assign issues to a milestone or release
Creating the container is half the job. Now you fill it. There are two paths, and they suit different moments.
Bulk, from the milestone. On the Milestones tab, each milestone row has an Add issues button. Click it and you get a modal titled "Add issues to {name}" with a search box ("Search open issues...") over the project's open, un-milestoned issues. It searches issues whose status category is backlog, todo, in_progress, or in_review (open work, in other words) that aren't already in a milestone. Each result is a checkbox row showing the issue number and title. As you tick them, a "{n} selected" counter updates, and you commit with Add {n}.
Concretely, say you're building a "v1.0 launch" milestone in WEB:
- Open its Add issues picker.
- Search "timeline", then check "Timeline + Summary tab" and its sibling issues.
- Watch the counter climb to "4 selected."
- Click Add 4. Four issues, one action, done.
This is the fastest way to populate a milestone from scratch, and it's why milestones feel quicker to fill than releases. (Note this bulk picker is milestone-only. Releases don't have an equivalent "Add issues" button, so releases fill up through the per-issue path below.)
Per-issue, from the right rail. Open any WEB issue from the Board or the List, click a card or a row. In the right rail, alongside assignee and labels, you'll find a Release row and a Milestone row, each a picker. The Release picker includes a "No release" option; the Milestone picker includes "No milestone." Pick one and the issue is assigned.
Setting the Release row writes a release id onto the issue; setting the Milestone row writes a milestone id. That's the whole mechanism. An issue "belongs to" v1.2 because it carries that release's id, nothing more magic than that. This path is perfect when you're already looking at an issue and realize it belongs to the next version. You don't go hunting through a picker of thirty issues, you set it right there.
One important detail: these rows only appear once the project actually has at least one release or milestone. On a fresh project with neither, you won't see the rows at all. That's by design (there's nothing to pick yet). Create the container first, then the picker shows up.
Then comes the payoff, which is filtering. The List page loads milestone and release filter options, so you can slice your issues by either. And because that milestone name and progress bar deep-link to /list?milestone=<id>, you get a live "everything in v1.2" view without maintaining a saved search by hand. Assign issues to the milestone, click its name, and there's your list, always current.
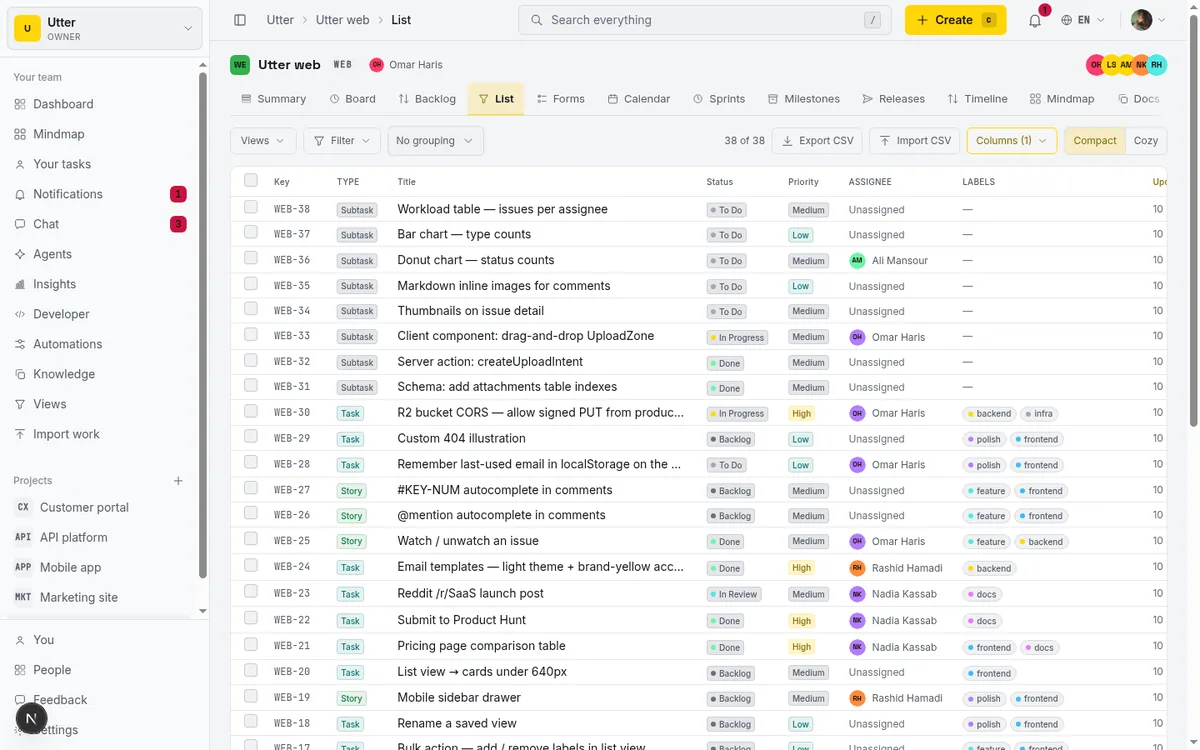
If the Board and List views are new to you, they're covered in how to use a kanban board and, for ranking the pile before you group it, how to prioritize your backlog.
Draft AI release notes and auto-ship from a GitHub tag
Here's where releases pull ahead of milestones. Two capabilities milestones don't have.
AI release notes. Open an existing release's Edit modal (the pencil icon) and, if AI is enabled for your workspace, you'll see a Draft with AI button. Click it and Utter reads the issues linked to that release and summarizes them into markdown, grouped as ## Features, ## Fixes, and ## Other, with each bullet citing the issue KEY so you can trace every line back to the work. The draft that lands in the Description field is shaped like this:
## Features
- Timeline gets a Summary tab with per-status counts (WEB-27)

## Fixes
- Board drag no longer drops rank on slow networks (WEB-31)

## Other
- Seed data refreshed for the demo workspace (WEB-35)
While it runs the button reads "Drafting...", and when it's done you'll see "Draft ready. Review it before saving." The draft pre-fills the Description field. It does not save on its own. You read it, edit it, and save when you're happy. That's the right shape for AI writing: it does the tedious first pass over the issue list, you keep the judgment.
Be honest with yourself about the gating, because the button is quietly conditional:
- It only appears for a saved release. On the New release modal, before the release exists, there's nothing to summarize, so no button. Save first, then edit.
- It only appears when AI is enabled for the workspace.
- It's gated on the ai.chat permission, so viewers and guests who can't spend AI credits won't get it.
- It can fail gracefully with messages like "Out of AI credits", "AI is turned off for this workspace", or "Attach issues to this release first." That last one is common: a release with no issues has nothing to summarize, so attach your issues before you draft.
If the Draft with AI button is missing, it's one of those reasons, not a bug. Saved release, AI on, issues attached, right permission. Check those four.
GitHub auto-ship. If a repo is linked to your project and its webhook is verified, pushing a matching Git tag can flip a release from planned or in_progress to Released automatically, stamping the ship time and writing an audit-log entry (release.github_shipped). "Matching" means the tag equals the release's version or name, with a leading v and letter case ignored, so this is all it takes from a terminal:
git tag v1.2.0
git push origin v1.2.0
It's idempotent and best-effort, so a duplicate webhook won't double-fire.
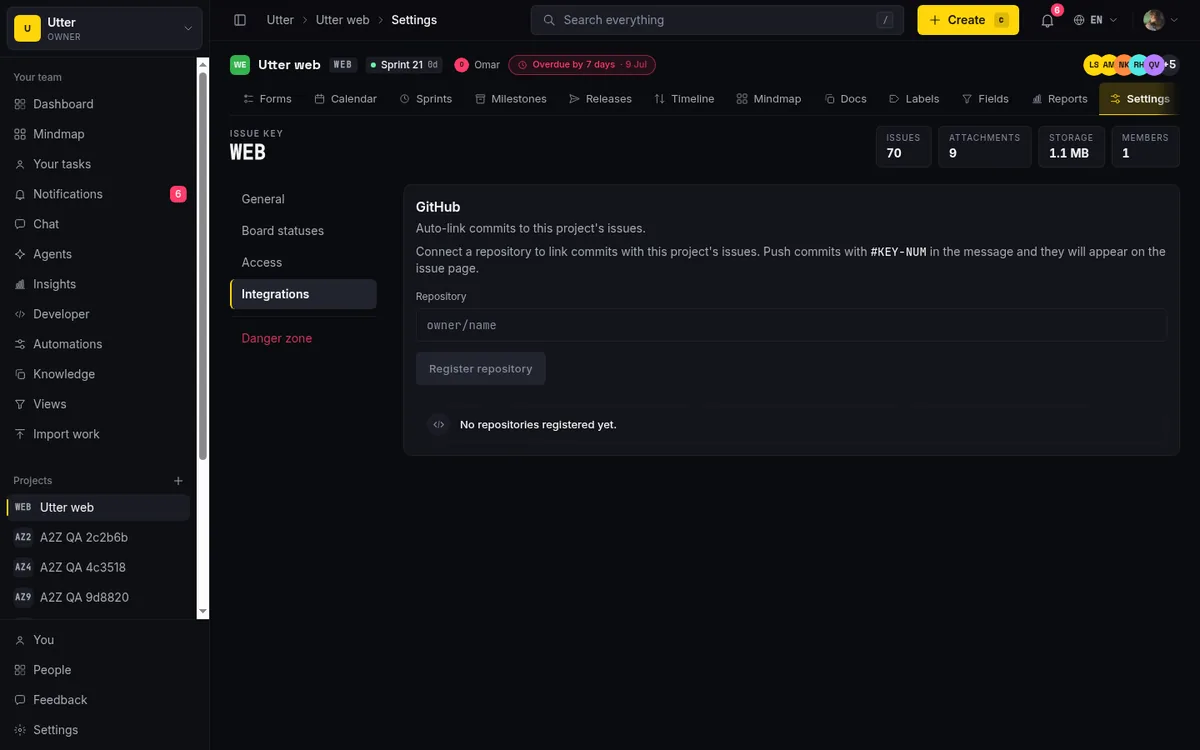
Read that carefully, though. This is not a click-to-ship button in the UI. There is no "Ship it" button you press. Auto-ship fires from the GitHub side, from your tag, through a verified webhook. It's a nice bit of automation for teams that cut releases from Git tags, but it's plumbing, not a control on the page. If you don't have a linked repo with a verified webhook, releases move to Released the ordinary way: you set the status yourself, inline or in the modal, and Utter stamps the ship time then.
Permissions, deletion, and the limits worth knowing
A few honest limits so nothing surprises you.
Who can do what.
| Action | Requires | Who has it |
|---|---|---|
| Create, edit, delete, reorder releases and milestones | project.edit_settings | Owners and admins |
| Assign an issue to a release or milestone | issue.edit_own or issue.edit_any | Members too |
| View the tables and progress bars | read access | Everyone, including viewers |
Members and viewers see these pages read-only: they get the list and the progress bars, but no New, Edit, Delete, or reorder controls. So don't set up a workflow that assumes "anyone can create a release," because on most teams they can't. The common shape still works, though: an admin sets up the release, and members sort their issues into it. Creating the container is admin work. Filling it is member work.
Deletion. Deleting a release or milestone is a soft-delete, recoverable in the backend within a 30-day window. When you delete one, any attached issues are unassigned automatically (their release id or milestone id is cleared), and the confirm dialog tells you how many issues that affects. The dialog says "This cannot be undone." Take that at face value as a user. While the data is technically recoverable on the backend, the product presents deletion as permanent, and every attached issue loses its grouping. If you've got thirty issues in a release, deleting it strips all thirty back to "No release."
Two smaller things. There are no keyboard shortcuts wired for these pages, so it's all clicks. And the demo seed creates no releases or milestones, so if you're exploring the demo workspace you'll hit the empty state ("No releases yet" / "No milestones yet") until you create your own. That's not a broken screen. That's the starting line.
Open project WEB, hit New release, and draw a line around your next version. The stakeholder question answers itself once the issues are grouped.
Frequently asked questions
What's the difference between a release and a milestone in Utter?
A release is a versioned bundle you track from planned to shipped: it has a Version field, four statuses (Planned, In progress, Released, Cancelled), a single Target date, AI-drafted release notes, and optional GitHub auto-ship. A milestone is a dated grouping with a Start date and a Due date (a range), three statuses (Planned, Active, Completed), and no version, AI notes, or GitHub integration. Use a release when the work maps to a version number; use a milestone for a dated chunk of work that doesn't.
How do I create a release and set its version and target date?
On the project's Releases tab, click New release. Fill in Name (required), Version (optional, e.g. v1.2.0), Status (leave it on Planned), Target date, and an optional markdown Description. Save with Add release. You can edit the status and target date later inline in the table row without reopening the modal.
How does the release and milestone progress bar calculate done vs total?
It's a done-count, not a percentage of effort. "Total" is every live (non-deleted) issue attached to the release or milestone. "Done" is every attached issue whose status category is done or cancelled, so cancelled counts as done. The tooltip reads "{done}/{total} done", and each issue counts as one regardless of size.
How do I assign multiple issues to a milestone at once?
On the Milestones tab, click the milestone row's Add issues button. That opens a picker that searches the project's open, un-milestoned issues (backlog, todo, in progress, in review). Check the ones you want, watch the "{n} selected" counter, and click Add {n}. Note this bulk picker is milestone-only; releases fill up through the per-issue rail picker.
Should I use a milestone, a release, or a sprint for planning my work?
Use a release when the work ships as a version and has a "we shipped it" moment. Use a milestone for a dated body of work that doesn't map to a single version. Use a sprint for the short, time-boxed iteration your team runs this week or next. Milestones and releases are longer-horizon groupings; a sprint is the short loop inside them, and an issue can belong to a sprint and a milestone at the same time.
Can members create releases, or is that admin-only?
Creating, editing, deleting, and reordering releases and milestones require the project.edit_settings permission, which is owner or admin. Members and viewers see the pages read-only. But assigning an existing issue to a release or milestone is a lower bar (issue.edit_own / issue.edit_any), so members can sort issues into containers an admin created.
How do I generate AI release notes, and why is the Draft with AI button missing?
Open an existing release's Edit modal and click Draft with AI. It summarizes the release's linked issues into markdown grouped as Features, Fixes, and Other, and pre-fills the Description for you to review before saving. The button only appears for a release that's already saved, only when AI is enabled for the workspace, and it's gated on the ai.chat permission. If it's missing, save the release first, confirm AI is on, and check your role. It can also report "Attach issues to this release first" if the release has no issues.
What happens to attached issues when I delete a release or milestone?
Deletion is a soft-delete (recoverable in the backend within 30 days) and it unassigns every attached issue, clearing its release or milestone. The confirm dialog tells you how many issues will be unassigned and says "This cannot be undone." Treat it as permanent from the user's side: the issues lose their grouping and go back to "No release" or "No milestone."
Related reading
How to run a sprint
Learn how to run a sprint in Utter: plan from the backlog, start and complete a sprint, carry over incomplete issues, and read the burndown and velocity.
July 15, 2026 · 13 min read
Project calendar view
Open Utter's Calendar tab to see project due dates on a month or week grid, drag deadlines to reschedule, edit status inline, and filter by assignee.
July 15, 2026 · 13 min read
Gantt chart with dependencies
Learn to plan on Utter's Timeline: read the Gantt, drag bars to reschedule, draw Blocks/Relates/Duplicates dependencies, schedule undated issues, and the real limits.
July 15, 2026 · 14 min read
How to run sprints without drowning in ceremony
A lightweight sprint process for small teams: what to keep, what to cut, and how to get the value of planning and review without the meeting tax.
July 12, 2026 · 5 min read
How to organize work with epics and subtasks
Learn Utter's epics, stories, tasks, subtasks hierarchy: group work under an epic, break issues into subtasks, read the progress bar, and the rules it enforces.
July 15, 2026 · 17 min read
Story points or hours, and parallel sprints when squads share a project
Utter now estimates in story points or hours per project (Fibonacci scale, points-based velocity) and runs parallel sprints when squads share a project. Both opt-in, on every plan.
July 17, 2026 · 7 min read
AI sprint planning: what actually works in 2026
Where AI genuinely helps plan a sprint, drafting, sizing, capacity checks, and where letting it decide is a mistake. A working setup, honestly described.
July 15, 2026 · 5 min read
Scrum vs kanban: choose per project, not per religion
Scrum vs kanban: choose the methodology per project, not per team religion. The one mechanic that actually differs, when each fits, an honest Utter vs Jira/Linear/Trello price and feature comparison (as of July 2026), and how to switch a project between the two with zero migration.
July 16, 2026 · 11 min read
How to read the project summary
Read the Utter project Summary tab like a pro: what every card shows, how each number is computed, what good looks like, and where the dashboard stops.
July 15, 2026 · 16 min read
Monday.com alternatives built for software teams, not marketing ops
Monday.com alternatives for software teams: real pricing (3-seat minimum vs $3/$6 per builder seat), category-backed statuses, sprints with carryover, and agents as free members not billed integrations.
July 16, 2026 · 12 min read
Add a comment
Start the conversation.