
How to connect an ai agent
You assigned a bug to your AI coding agent by pasting the ticket into a chat window, and now nobody can tell what it touched or whether it is still working. The comment that should be on the ticket is buried in a terminal scrollback. The status never moved. And when a teammate asks "who's on WEB-142?", the honest answer is "a Claude tab on my laptop, probably." That is not a system. It is a person babysitting a chatbot.
Backing the agent as a real member instead fixes it. This guide walks through how to connect an AI agent to a project management tool the right way, using Utter, so the agent shows up as a named workspace member with its own scoped key, its own attributed comments, and a work state you can actually read. No more guessing whether it is running.
Everything below uses the demo workspace utter and its WEB project, whose board runs Backlog, To Do, In Progress, In Review, and Done. Swap in your own slugs as you go.
Why connect an AI agent to a project management tool at all
Here is the actual problem with the chat-window approach. The agent has no identity in your tracker, so nothing it does traces back to it. It has no visible state, so the only way to know if it is working is to go stare at the terminal it lives in. Every question about it ("did it start? is it stuck? what did it change?") turns into you walking over to a machine.
Connecting the agent as a member closes all of that, because the fix is the same in every case: make the agent a workspace member with its own scoped key. Once it is a member, the issues assigned to it, the comments it writes, and the sessions it runs are attributed to it by name. Its work state (running, waiting on you, in review) shows up on the Agents hub and directly on the ticket, the same place your human teammates' work shows up. You stop asking "is it still going?" because the answer is on the screen.
That is the shape of the thing. An agent that is a first-class member, not a tab you have to remember to check. If you want the wider picture of what agents do across the product before you wire one up, how to use AI agents in Utter covers the whole surface. This guide is narrower: get one agent connected, assigned, and visible, end to end.
What you need before you start
Two honest gates before you open anything.
First, permissions. Connecting an agent needs the agent.connect permission, which owner, admin, and member roles all carry. Viewers and guests do not. If you are a viewer on the workspace, you will not see the Connect button, and no amount of clicking changes that. Ask an owner or admin to either connect the agent or bump your role.
Second, a machine where the agent actually runs. Connecting mints an API key and an MCP setup line, and that line has to be pasted somewhere the coding agent lives: your laptop, a dev container, a CI box, wherever Claude Code or Codex is installed. Have that terminal open before you start, because the reveal step shows the key exactly once and you do not want to be scrambling for a place to put it.
Two facts worth knowing up front so they do not surprise you later:
- There is a hard cap of 25 live agents per workspace. That is an abuse guard, not a plan limit, so upgrading will not raise it; the 26th connect just fails.
- Connected agents do not count as billed seats. You can add your whole toolchain and your invoice does not move. Members, but free ones.
Open the Connect agent dialog
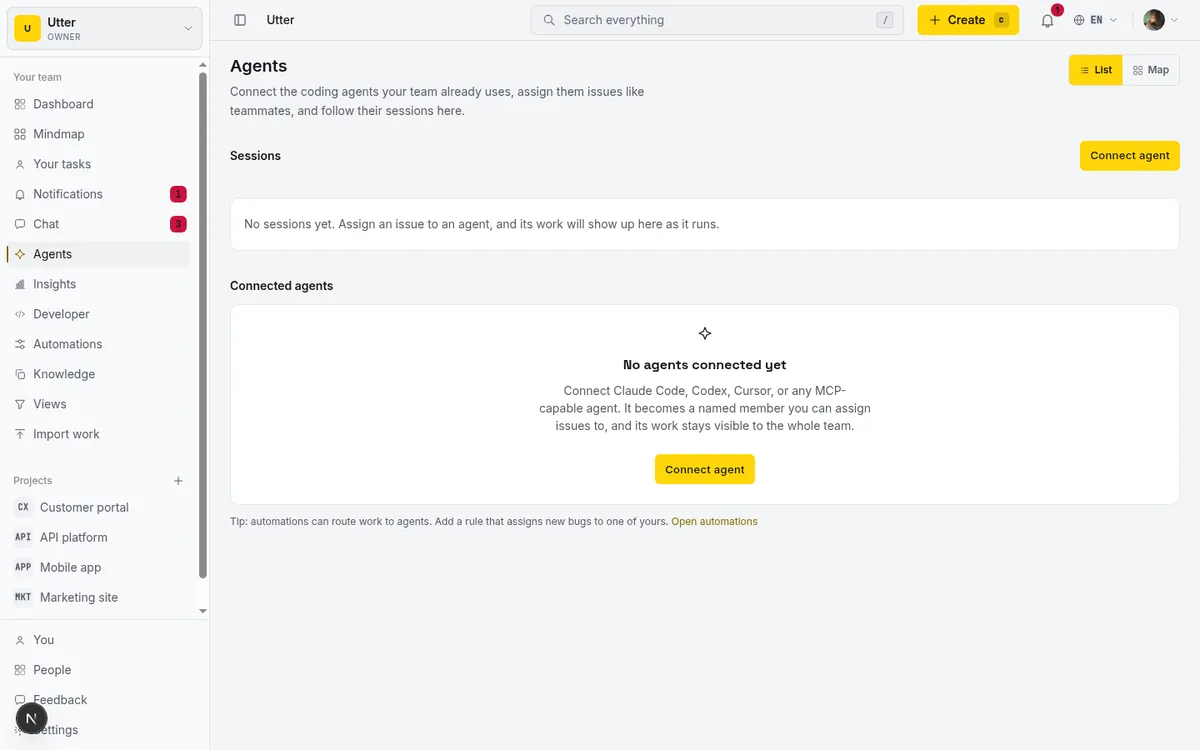
The Agents hub lives in the workspace sidebar under Agents. Open it and you land on the hub: a page titled Agents, a Sessions list, and a Connected agents directory below it.
There are a few ways into the connect flow. The main one is the Connect agent button at the top-right of the Sessions section. It is always there once you have the permission. If you have never connected anything, the hub shows an empty state instead ("No agents connected yet") with its own Connect button in the middle of the card, so a brand-new workspace has an obvious front door. There is also a ?connect=1 deep link, handy for dropping "click here to connect your agent" into an onboarding doc or a message to a teammate, plus a "Connect my agent" join prompt for people arriving with an agent in hand.
Empty, the hub is mostly a promise: it tells you what an agent becomes once connected, a named member you can assign issues to, visible to the whole team. Populated, it is the directory table plus the live Sessions list. You see the empty state once, the first time. After that it is the populated view, which is the one that earns its keep.
Name the agent and pick the tool it runs on
Click Connect and the dialog opens on two fields that matter: a name, and the tool it runs on.

The Agent name field carries the placeholder "e.g. Omar's Claude Code". Two to sixty characters, and the Connect button stays disabled until you have typed at least two non-space characters, so a stray space will not let you through with a blank name.
Spend a second on this name. It is not decoration. When three agents hold tickets on the same board at the same time, "Omar's Claude Code" and "CI bugfixer" and "Docs Codex" tell you at a glance which is which on the ticket and in the Sessions list. "Agent 1" tells you nothing. Name it the way you would name a teammate's seat: by who runs it and what it is for.
Under Runs on there is a three-column grid of provider tiles. Nine of them, each a real logo and label: Claude Code, Codex, Cursor, Copilot, Gemini CLI, DeepSeek, Kimi, Perplexity, and Custom agent (which shows the Utter brand spark instead of a logo). Claude Code is preselected in gold, so if that is your agent you can leave it and move on.
Now the honest part, because it changes how much you should care about this choice. The provider tile is metadata and branding. It sets the logo and label that show next to the agent in the directory, and nothing else. Every provider you pick gets the exact same scoped write key and the exact same MCP endpoint. Picking Cursor does not generate a Cursor-flavored config. Picking DeepSeek does not change a single mechanic. So choose the tile that matches reality, because it makes the directory readable, and do not expect it to do more than that. The label is for the humans reading the table.
One naming note the tiles quietly enforce: the OpenAI provider is labelled Codex, and the Gemini provider is Gemini CLI. There is no plain "OpenAI" or "Gemini" tile. Those are product strings, so use them as written.
Copy the key and MCP snippet (the reveal step)
Click Connect. The button reads "Connecting…" for a beat, and in that beat Utter builds the agent as a real member of your workspace. It is worth knowing what actually gets created, because it explains why the attribution works at all:
- A hidden agent user (flagged
is_agent), so the agent has an identity of its own. - A workspace member row at the
memberrole, also flagged as an agent, so it sits inside a member-level ceiling. - A
workspace_agentsprofile carrying the name and provider you just picked. - A scoped API key named "Agent: " that holds the coarse
writescope only. That reaches the member-tier families (issues, comments, docs, sessions) and never the admin-only ones. Itscreated_byis set to the agent user itself, which is the trick that makes every REST and MCP call the key sends get attributed back to the agent by name.
Then the reveal step appears, and this is the one moment that does not come back. It shows the plaintext API key once, under "Its API key, copy it now", with a Copy button that flips to "Copied" for about a second and a half so you know it took. The key does not survive the dialog closing. There is no "show it again" later. Afterward the directory only ever displays the key's prefix, never the whole thing. Lose it and your only path back is Disconnect and reconnect, which mints a fresh one. So copy it now, into the terminal or secret store the agent reads from, before you touch anything else.
The reveal also hands you the wiring line, under "Point the agent at Utter":
claude mcp add utter-product \
  https://utter.ae/api/mcp/v1 \
  --header "Authorization: Bearer <key>"
The origin is filled in with your live site origin. Run that on the machine where the agent lives and it registers Utter's MCP server, so the agent can read its assigned issues, comment, and move statuses, all through the key you just copied.
The obvious limit: that snippet is Claude-Code-specific. It is the claude mcp add command, and it is for Claude Code. If your agent is Cursor, VS Code, or Codex, the dialog does not print a per-client config; there is a link that sends you to Developer, Skills for those setups instead. The dialog is honest about that rather than pretending to configure a client it cannot. If you are weighing MCP against plain REST for your agent, MCP or REST API for your agent lays out the tradeoff, and note the same key works for direct REST v1 calls too, so you are not locked into one path.
Assign a ticket to the agent like a teammate
This is the payoff, and it is deliberately boring, which is the whole point. You assign work to the agent exactly the way you assign work to a person.
Open a ticket in WEB, say "Timeline + Summary tab" sitting in To Do. Open its assignee picker. The picker splits into two groups, People and Agents, with your connected agent listed under Agents next to its provider logo. Pick it. Done. No special mode, no separate "delegate to bot" flow. Same picker, same click.
Assigning does one thing worth understanding. It auto-creates a pending delegation session (this is the DELEGATE-01 behavior), and that pending session shows up right away on the hub and on the issue card, before the agent has done a thing. It is Utter saying "this work has been handed to the agent and is waiting to be picked up."
Here is the nuance that trips people up, so read it twice. Connecting an agent creates no session at all. Assigning an issue creates a pending session. A running session only appears once the agent itself calls startAgentSession over MCP or REST, that is, once it picks the work up and claims that pending row.
sequenceDiagram
    participant You
    participant Utter
    participant Agent
    You->>Utter: Connect agent
    Note over Utter: No session yet
    You->>Utter: Assign WEB-142 to agent
    Note over Utter: Session created as pending
    Agent->>Utter: POST start session (claim)
    Note over Utter: Session is running
    Agent->>Utter: PATCH state and heartbeat
Over REST, that claim is one call. It is POST /v1/workspaces/{slug}/agent-sessions with the agent's own key, and because the key belongs to the agent, no agent_id is needed:
curl -X POST https://utter.ae/api/v1/workspaces/utter/agent-sessions \
  -H "Authorization: Bearer $UTTER_AGENT_KEY" \
  -H "Content-Type: application/json" \
  -d '{"title": "Timeline + Summary tab", "issue_key": "WEB-142"}'
const res = await fetch(
"https://utter.ae/api/v1/workspaces/utter/agent-sessions",
{
method: "POST",
headers: {
Authorization: `Bearer ${process.env.UTTER_AGENT_KEY}`,
"Content-Type": "application/json",
},
body: JSON.stringify({
title: "Timeline + Summary tab",
issue_key: "WEB-142",
}),
},
);
const session = await res.json(); // 201 with the new running sessionimport os, requests
res = requests.post(
"https://utter.ae/api/v1/workspaces/utter/agent-sessions",
headers={"Authorization": f"Bearer {os.environ['UTTER_AGENT_KEY']}"},
json={"title": "Timeline + Summary tab", "issue_key": "WEB-142"},
)
session = res.json() # 201 with the new running sessionSo the sequence is: connect (nothing), assign (pending), agent claims it (running). If a pending session sits unclaimed, a worker auto-cancels it after seven days, so a ticket you handed to an agent that never woke up does not linger as a fake open session forever. If you would rather think about this handoff as onboarding than as plumbing, onboard an AI agent like a new hire frames it that way.
Follow the agent's sessions on the hub and the ticket
Once the agent is working, the Sessions list is where you watch it. Learn to read the states and you will not wonder whether it is stuck again.
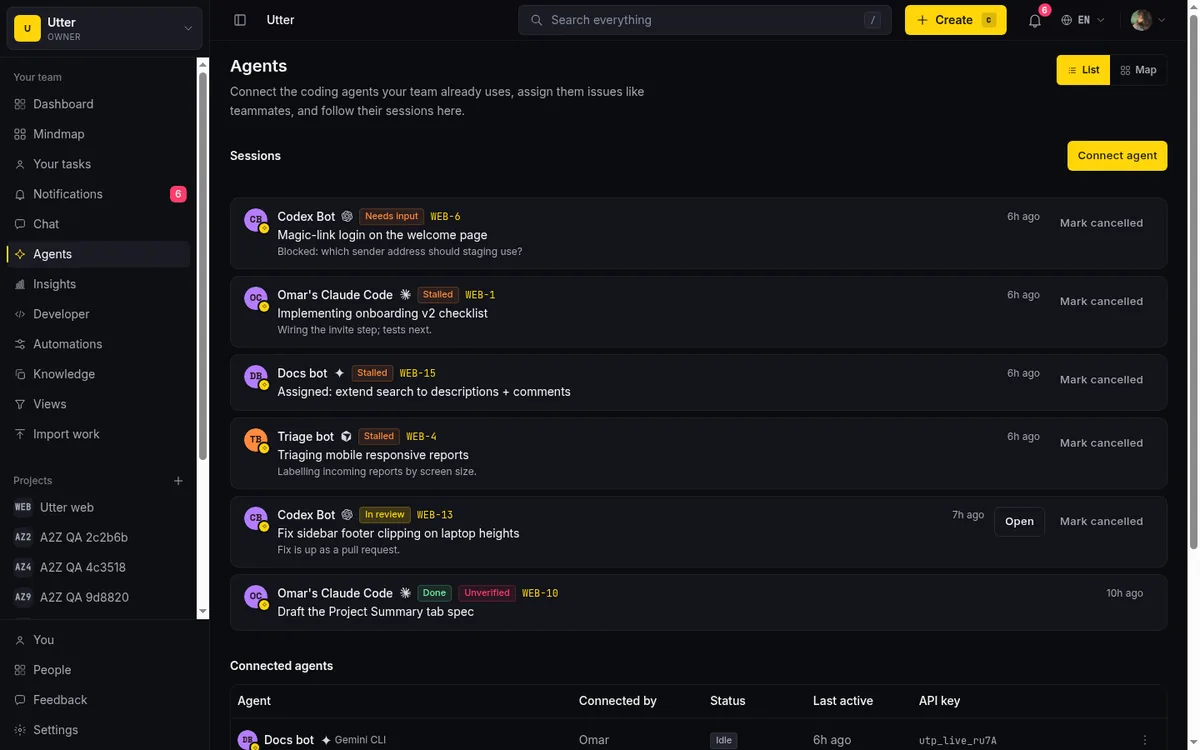
The stored states are Pending, Running, Needs input, In review, Done, Failed, and Cancelled. On top of those, two are derived at read time and never stored:
| State | Stored or derived | What it means |
|---|---|---|
| Pending | Stored | Assigned, waiting for the agent to claim it |
| Running | Stored | The agent claimed the work and is on it |
| Needs input | Stored | The agent is blocked on a question for you |
| In review | Stored | The agent says it is finished, check the work |
| Done / Failed / Cancelled | Stored | Terminal, the session ended |
| Stalled | Derived | Running but no heartbeat for 30 minutes, treat as hung |
| Unverified | Derived | Review or done with no trace left on the issue |
Stalled is a running session with no heartbeat for thirty minutes; the agent stopped checking in, so treat it as hung. Unverified is a review or done session with no attributed activity, comment, or link on its issue; the agent says it is finished but left no trace, so look before you trust it. Those two derived states are the ones that catch silent failures, which makes them the ones to watch for.
stateDiagram-v2
    [*] --> Pending: issue assigned
    Pending --> Running: agent claims it
    Pending --> Cancelled: unclaimed for 7 days
    Running --> NeedsInput: agent asks you
    NeedsInput --> Running: you answer
    Running --> Review: agent finishes
    Review --> Done
    Running --> Failed
    Done --> [*]
The agent moves through those states with PATCH /v1/workspaces/{slug}/agent-sessions/{id}. Every PATCH doubles as the heartbeat (it bumps the last-activity timestamp), and setting state to a terminal value stamps the end time:
curl -X PATCH https://utter.ae/api/v1/workspaces/utter/agent-sessions/$SESSION_ID \
  -H "Authorization: Bearer $UTTER_AGENT_KEY" \
  -H "Content-Type: application/json" \
  -d '{"state": "review", "note": "Fix pushed, two tests added"}'
The list is ordered to put what needs you first. Open sessions sort above ended ones, and within the open ones the urgent states (needs-input and stalled) float to the top, then review, then pending, then running. Below the open work you get up to ten recent ended sessions for context. Each row links out to its issue key, carries an external Open link, and, if you are an owner or admin, gives you a Mark cancelled action to kill a session by hand.
The Connected agents directory sits below the sessions as the roster: columns for Agent (avatar, name, provider), Connected by (who owns it), Status (Idle, or a cyan "1 session" / "N sessions" badge), Last active as a relative time, the API key prefix in monospace, and the row kebab. That is your at-a-glance "who is connected and are they busy" view.
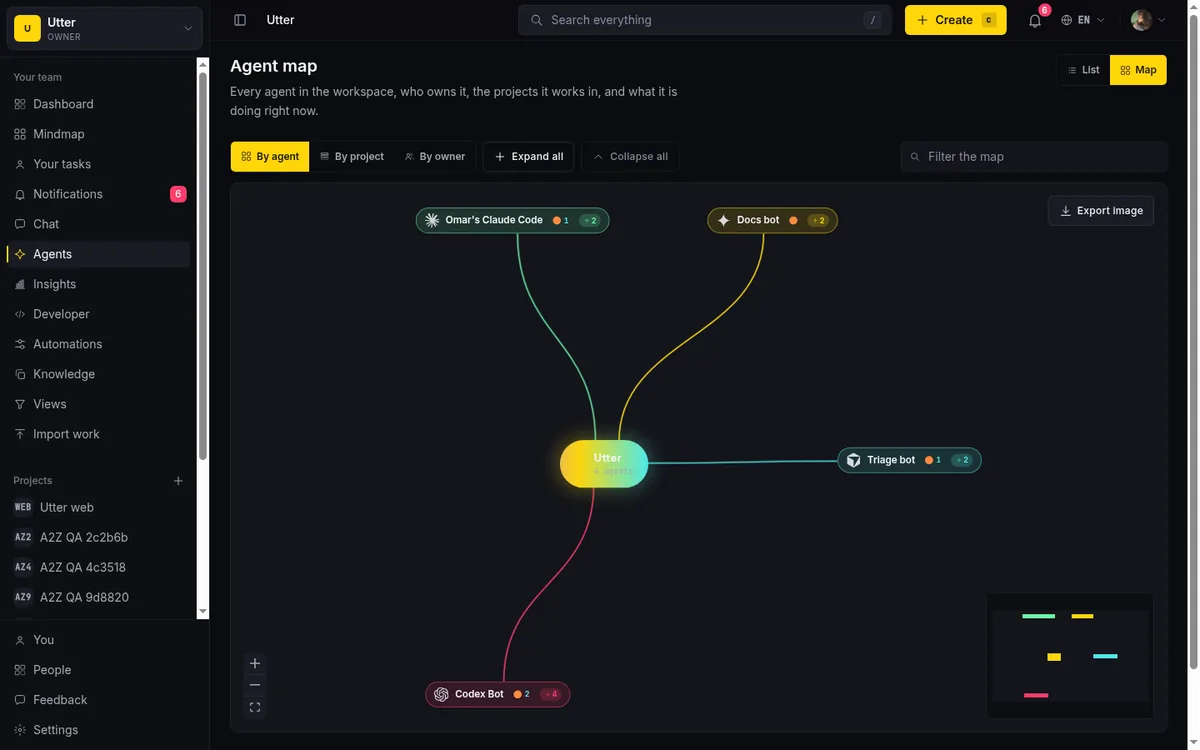
To follow along visually, flip the header from List to Map. The Map view is a live radial tree of your agents, and you can regroup it By agent, By project, or By owner. Same data as the list, drawn as a tree, which makes "which agent is on which project" obvious in a way a table cannot.
Manage, restrict, or disconnect a connected agent
Every agent row has a kebab menu holding three actions: Rename, Permissions, and Disconnect.
Rename changes the display name (the profile), nothing else. Permissions is where you restrict what the agent can write, per issue field. This is the FIELD-POLICY-01 allowlist, and it is opt-in: out of the box, every issue field is writable by the agent. If you want an agent that can move status and comment but must never touch, say, the assignee or the due date, this is where you lock that down. Reach for it when you are handing an agent broader access than you are fully comfortable with; leave it alone when you trust the agent with the ticket.
Disconnect is the one to be precise about, because it does less damage than it sounds like. It revokes the key (the agent can no longer authenticate) and removes the membership (it stops being assignable). But it keeps the user row and all historical attribution. Every issue, comment, and session the agent ever touched stays attributed to it by name. You are turning off the agent's access, not erasing its history. That is exactly what you want: the audit trail survives even after the agent is gone.
Who can do all this? Rename, Disconnect, Permissions, and cancel-any-session require either that you own the specific agent, or that you hold agent.manage_any, which is owner and admin only. So a member can manage the agents they connected, and owners and admins can manage everyone's.
One last identity note that reassures more than it limits. The agent's user identity can never sign in. Its email is synthetic, on the agents.utter.ae subdomain, which receives no mail, so a magic link can never reach it. There is no human hiding behind an agent account. For running a whole fleet of these, manage a team of AI agents goes deeper than one agent's kebab menu.
Common mistakes and limits worth knowing
A short, honest list of what actually catches people, drawn from how the feature really behaves.
Connecting alone gives you nothing to watch. No session appears until you assign an issue (pending) and the agent claims it (running). If you connected an agent and the Sessions list is empty, that is correct, not broken. Go assign it a ticket.
The setup snippet only covers Claude Code. The claude mcp add line is Claude-Code-specific. Cursor, VS Code, Codex and the rest get set up through Developer, Skills, not from the dialog. Do not wait for a per-client config that is not coming.
The key shows once. Copy it in the reveal step or you are reconnecting to get a new one. The directory only ever shows the prefix afterward.
The provider tiles are fixed and cosmetic. There are nine, and the choice sets a logo and a label, nothing more. Same key, same endpoint, whichever you pick.
Agents cannot reach admin settings, but they can write every field by default. The key carries the coarse write scope and can never touch admin-only families. Within its member ceiling, though, every issue field is writable until you restrict it through Permissions. If that is broader than you want, tighten it deliberately.
The MCP SSE channel is heartbeat-only. The GET stream currently pushes no server-initiated messages. It keeps the connection alive; it is not a real-time notification feed, so do not build a workflow that assumes the agent gets pushed events through it.
And a useful one to end on: automations can hand work to agents for you. A rule with the notify_agent action can wake an agent from an automation, so "assign every new bug in WEB to my bugfixer agent" is a rule you write once instead of a click you make every time.
Connect one agent, assign it a real ticket, and watch the session move. That single loop is the whole thing working. Open your Agents hub and connect your first one.
Frequently asked questions
How do I connect an AI agent to a project management tool in Utter?
Open the Agents hub from the workspace sidebar, click Connect agent, give it a name and pick the tool it runs on, then click Connect. Utter mints a scoped API key and an MCP setup line; run that line on the machine where the agent lives, then assign it a ticket like any teammate.
Do connected agents count as paid seats?
No. Agent members are excluded from seat billing, so you can connect your whole toolchain without your invoice changing. There is a hard cap of 25 live agents per workspace, but that is an abuse guard, not a plan limit.
The provider snippet only shows a `claude mcp add` command. How do I set up Cursor or Codex?
The copy-paste snippet is Claude-Code-specific. For Cursor, VS Code, Codex and other clients, the dialog links you to Developer, Skills for the right setup. The provider tile you pick is only a logo and label; every provider gets the same scoped key and the same MCP endpoint.
I connected an agent but the Sessions list is empty. Is it broken?
No, that is expected. Connecting creates no session. Assigning an issue creates a pending session, and a running session only appears once the agent itself claims the work over MCP or REST. Assign it a ticket and the session shows up.
I lost the API key. Can I see it again?
No. The plaintext key is shown exactly once in the reveal step; afterward the directory only shows its prefix. To get a working key again, Disconnect the agent and reconnect, which mints a fresh one.
What happens to an agent's work when I disconnect it?
Disconnecting revokes the key and removes the membership so the agent can no longer authenticate or be assigned work. It keeps the user row and every issue, comment, and session the agent ever touched, all still attributed to it by name, so the audit trail survives.
Can I stop an agent from editing certain fields?
Yes. Open the agent's kebab menu and choose Permissions to set a per-field write allowlist. By default every issue field is writable within the agent's member-level ceiling, so restricting fields is opt-in when you want tighter control.
What do the Stalled and Unverified session states mean?
Both are derived at read time, not stored. Stalled is a running session with no heartbeat for thirty minutes, so treat it as hung. Unverified is a review or done session with no attributed activity, comment, or link on its issue, meaning the agent claims it is finished but left no trace to check.
Related reading
How to use AI agents in Utter: connect them, assign work, and follow their sessions
A start-to-finish walkthrough: connect an agent, scope its key, assign it issues, and watch its sessions, without giving up control of the board.
July 15, 2026 · 11 min read
Onboard an AI agent like a new hire: identity, access, and a first task
You already know how to bring on a new hire. Do the same for an AI agent: give it an identity, scoped access, one small task, a review, and an offboarding path.
July 15, 2026 · 8 min read
AI agent project management: the complete guide
How to run real projects with AI agents on the board: connecting them, assigning work, keeping review, what breaks, and how to pilot it in a week.
July 15, 2026 · 12 min read
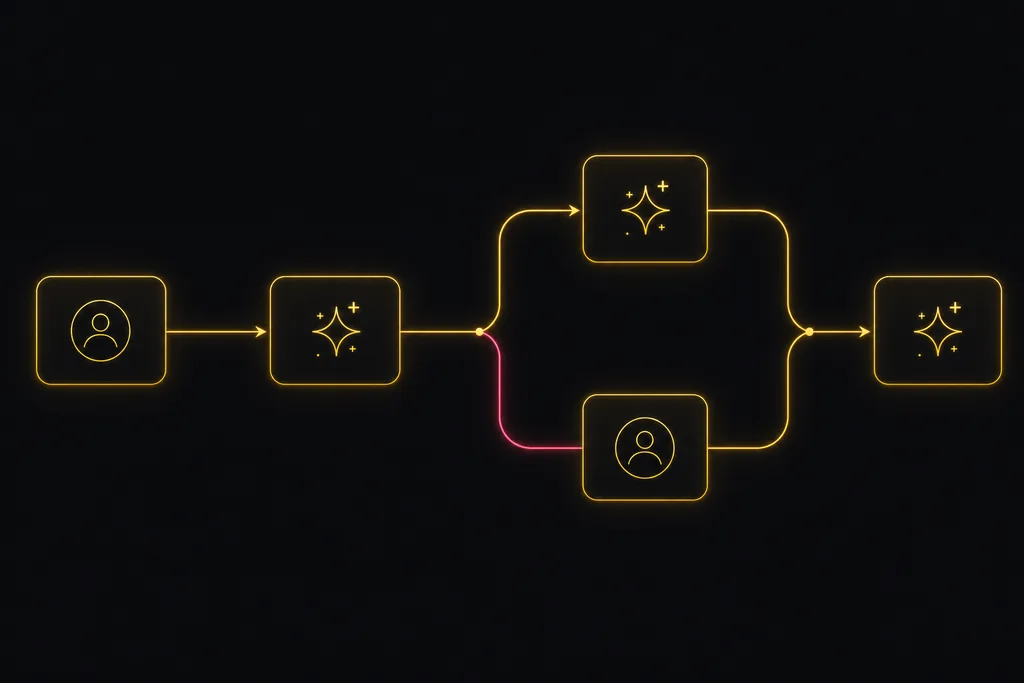
Chat with your AI agents, then put them in a workflow
Utter lets you DM an AI agent or @mention it in a channel, watch it work, and connect agents and people on a canvas so a ticket routes itself through triage, build, and review.
July 17, 2026 · 7 min read

How to manage a team of AI agents without losing track of what they're doing
Running several AI agents at once? The day-to-day of a fleet: a roster, live sessions, instant delegation, per-field permissions, and verified work.
July 15, 2026 · 16 min read

How to delegate work to an agent
Assign a task to an AI agent in Utter using the same assignee picker you use for people, and understand the pending session, claim flow, and real limits.
July 15, 2026 · 16 min read
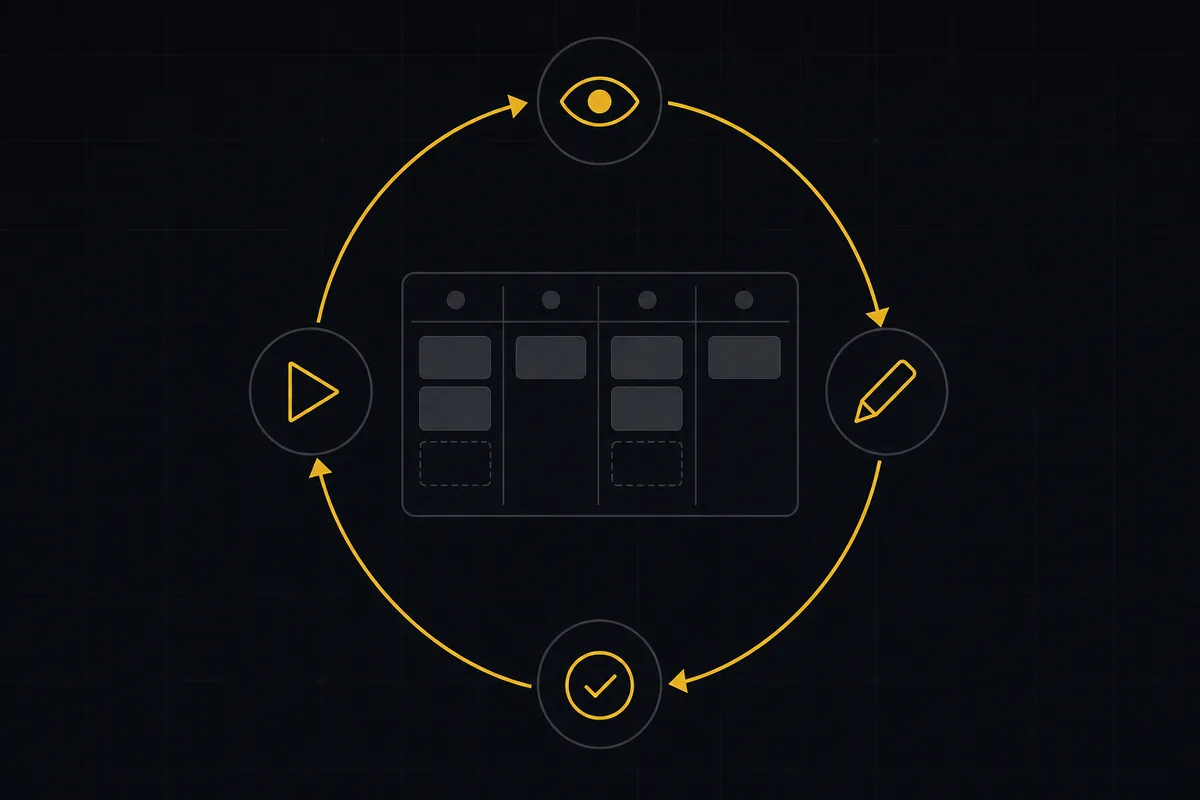
What is agentic project management? A plain-language guide with a working example
A copilot waits for your prompt. An agent acts on an event. Here is the perceive-plan-act-check loop explained, with one real end-to-end run inside Utter.
June 11, 2026 · 11 min read
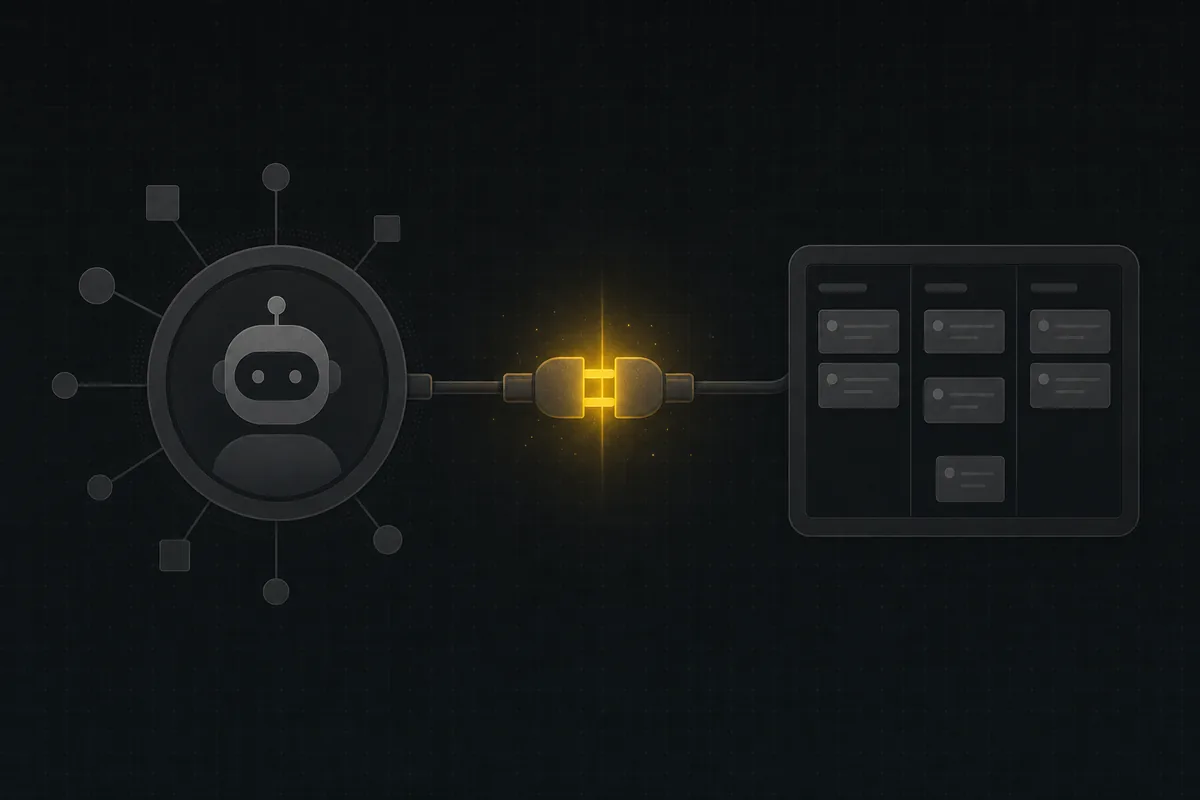
How to install utter as an agent skill
Install Utter as a skill in your AI coding agent: one-command MCP for Claude Code, config for Cursor and VS Code, or a SKILL.md download for OpenCode and Codex.
July 15, 2026 · 15 min read
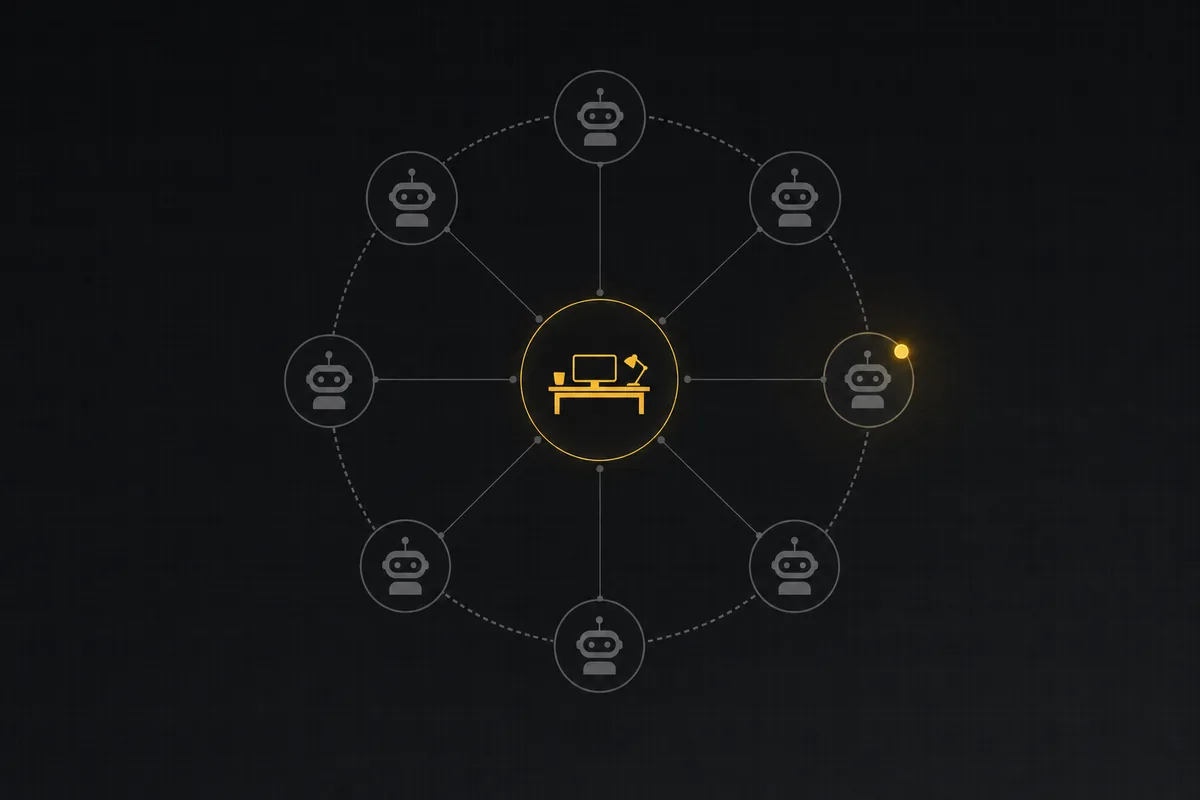
How to map your agent team
The Agent Map shows every AI agent in a workspace, who owns it, and its live work on one radial tree. How to read status dots, regroup, and spot stalls.
July 15, 2026 · 16 min read
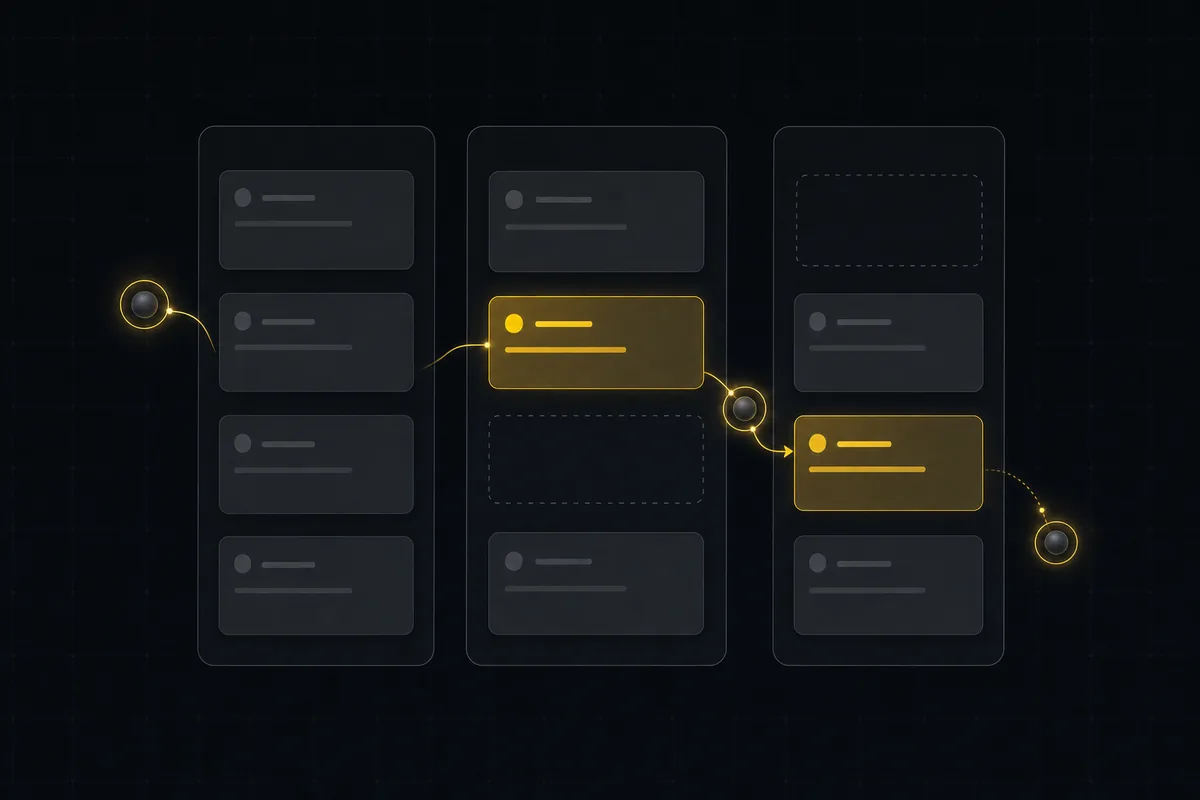
Running a project with AI agents without losing the thread
A practical setup for letting AI agents do real project work, create issues, move the board, draft specs, while your team keeps control of what matters.
July 11, 2026 · 5 min read
Add a comment
Start the conversation.