
How to set up automations
You keep doing the same three clicks every time a bug lands. Open the issue. Set its status. Assign it to whoever owns that part of the app. It's muscle memory by now, and that's the problem. Work that runs on muscle memory is work a rule should be doing for you. In Utter, a project management automation rule can catch that bug the instant it's created and make all three moves before the notification even reaches you.
This guide walks through project management automation rules in Utter from the ground up. You'll learn to read any rule as a plain sentence, pick the right trigger, narrow it with conditions, stack actions that respect your workflow, and check the run history so you actually trust the thing. Everything uses the demo WEB project (columns Backlog, To Do, In Progress, In Review, Done), so the examples land on something concrete instead of hand-waving.
I'll also be straight about the edges. These rules don't chain, they don't fire on a schedule, and they're a paid feature. Knowing the limits up front is what keeps a rule from quietly misbehaving three weeks later.
What automation rules actually do in Utter
A rule watches for an event in your workspace and acts on it without you. Something happens (an issue is created, a status changes, a comment lands), the rule checks whether it matches your conditions, and if it does, it runs the actions you defined. That's the whole feature. No scripts, no code, no glue.
Here's the first thing to internalize: automations in Utter are workspace-scoped, not per-project. There's no automations tab hiding inside a single project. One rule watches issues across every project in the workspace, and if you want it to touch only one project, you narrow it with a condition (more on that below). That's different from tools where you rebuild the same rule in every project. Here you write it once.
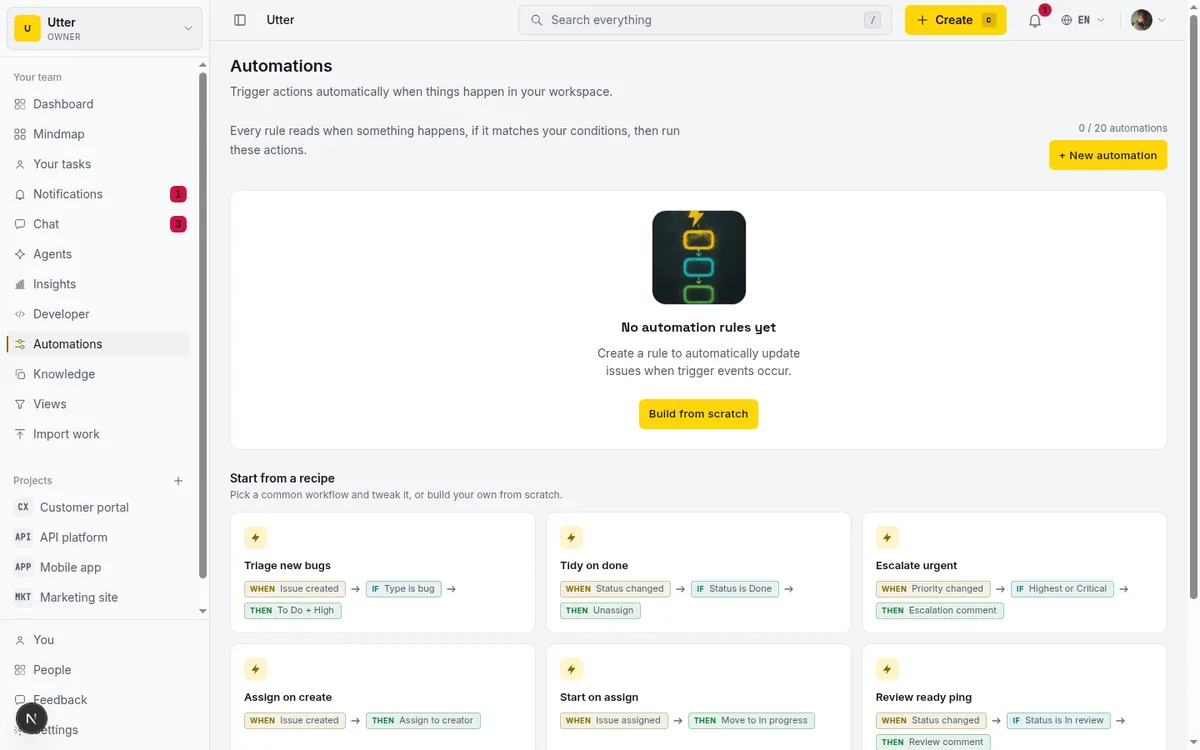
Open the Automations page from the workspace sidebar. It lives at /w/[workspace]/automations and it's home base for everything here. The subtitle reads "Trigger actions automatically when things happen in your workspace." Just under that is the line that teaches the whole model: "Every rule reads when something happens, if it matches your conditions, then run these actions." Top right you get the + New automation button and a small plan usage counter showing "{used} / {limit} automations" so you always know how close you are to your cap.
Below that live your existing rule cards, and under those, a "Start from a recipe" grid of six starter cards. That grid is the fastest way in, and we'll get to it.
The when / if / then model, read like a sentence
Every rule in Utter is one sentence with three parts, and the builder labels them WHEN, IF, and THEN. Once this clicks, you can read any rule at a glance and write one without thinking about the UI.
WHEN is the trigger. It's exactly one event. A rule fires on one thing happening, never a menu of things. That's deliberate. A rule that "does the same job" for two unrelated events is really two rules, and keeping it to one trigger keeps the run history readable.
IF is the conditions. Zero or more. This is where a rule earns its keep, because a trigger like "Issue is created" fires constantly, and conditions are how you say "yes, but only the ones I care about." You pick whether All conditions match (every condition must be true) or Any condition matches (one is enough). Add no conditions at all and the rule shows "Runs on every matching event", which is honest about what it'll do: fire on every single trigger.
THEN is the actions. One or more, running in order, top to bottom. Order matters, which is why you can reorder them.
flowchart LR
    E[Event in workspace] --> W{WHEN trigger matches?}
    W -- no --> X[Nothing happens]
    W -- yes --> I{IF conditions pass?}
    I -- no --> X
    I -- yes --> T[THEN actions run in order]
    T --> H[Run logged in history]
Here's a concrete WEB rule read as a sentence: when a bug is created, if its type is Bug, then set its status to To do and its priority to High. In the builder that's one trigger (Issue is created), one condition (Type is Bug), and two ordered actions (Set status, Set priority).
Why one trigger but many conditions and actions? A trigger is the single moment you're reacting to. But the situation you're reacting to has nuance (which project, which type, who's assigned), and your response often has several steps. One cause, several qualifiers, several effects. That asymmetry is the model.
Start from a recipe or build from scratch
There are two ways into a rule, and picking the right one saves real time.
The list page shows six starter recipes, each a card with its own WHEN/IF/THEN summary:
- Triage new bugs (when an issue is created, if type is Bug, then set status and priority)
- Tidy on done (housekeeping when an issue moves to Done)
- Escalate urgent (bump handling for high-urgency issues)
- Assign on create (route new issues to an owner)
- Start on assign (move an issue into progress the moment it's assigned)
- Review ready ping (notify when something is ready for review)
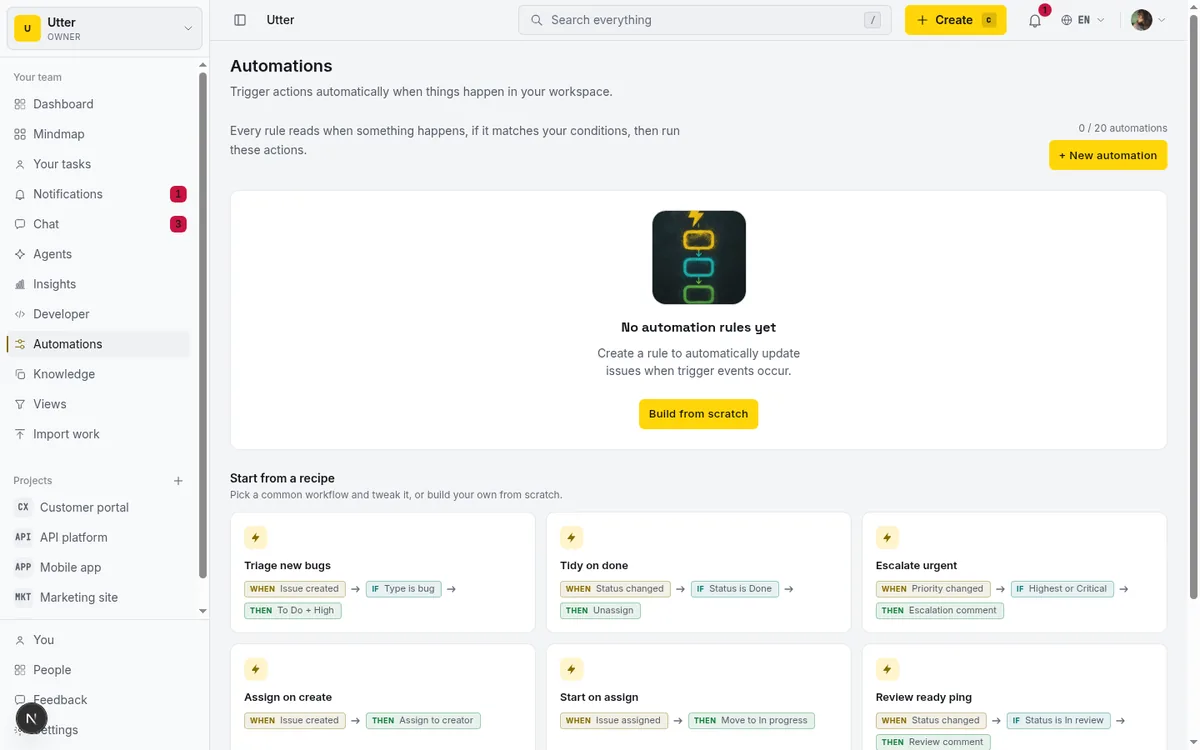
Click any recipe card and it opens the builder pre-filled via /new?recipe=<key>, with the trigger, conditions, and actions already populated. Here's the part people miss: a recipe is not a locked template. The moment it opens, it's a fully editable rule. Change the trigger, swap a condition, add three more actions, rename it. Nothing is frozen. The recipe just spares you the blank canvas.
Use a recipe when it's close to what you want, which is most of the time for the common jobs like triage, auto-assign, and escalate. Build from scratch when your logic is specific to how your team works, say a rule scoped to one project with a condition on a custom label. And if you start blank and then realize a recipe was closer, the same six sit inside the builder as template chips, so you can pull one in mid-build without leaving the page.
Choosing your trigger (the WHEN node)
Your trigger is the first real decision, and Utter gives you exactly six events. No more, no fewer:
- Issue is created is the workhorse. Best for triage, auto-assignment, and setting sane defaults. In
WEB, this is what catches a new bug and files it before anyone touches it. - Issue status changes fires on any column move. Good for "when it hits In Review, ping the reviewer" or "when it lands in Done, strip the
needs-triagelabel." - Issue priority changes fires when priority is edited. Useful for escalation: "when priority becomes Critical, assign it to the on-call owner."
- Issue is assigned fires when an assignee is set. The classic use is "Start on assign": the moment someone gets assigned, move the issue to In Progress.
- Issue is unassigned fires when the assignee is cleared. Handy for dropping an orphaned issue back into a triage state.
- Comment is added fires on a new comment. Useful for keeping an issue's status honest, like nudging it out of a stale column when discussion restarts.
Now the honest part, because guessing wrong here wastes an afternoon. Those six are the only triggers. There is no sprint-start trigger, no due-date trigger, no schedule or time-based trigger, no label-change trigger.
You might spot a "Sprint starts" label floating around in the interface text. Ignore it. It isn't a real trigger, it isn't wired to fire, and building a rule expecting it to run on sprint start will leave you staring at an empty run history. If your automation depends on time passing or a sprint beginning, Utter's rules aren't the tool for that job today.
And it's one trigger per rule. If you need the same actions on both "created" and "assigned", that's two rules (duplicate one and change its trigger, covered below).
Narrowing with conditions (the IF node)
A trigger like "Issue is created" fires on everything. Conditions are how you carve out the subset you actually mean. This is the line between a rule that helps and a rule that touches issues it had no business touching.
First, pick your matching mode at the top of the IF node: All conditions match or Any condition matches. "All" is an AND (every condition true). "Any" is an OR (one true is enough). Most triage rules want All: type is Bug and assignee is empty.
You build conditions over seven fields, and each field offers only the operators that make sense for it. That's a feature, not a limitation, because it stops you writing something nonsensical:
- Project (is / is not / is one of). This is your scoping tool. Add "Project is WEB" and the rule only ever touches
WEB, which gives you per-project behavior out of a workspace-wide engine. - Type (is / is not / is one of).
- Priority (is / is not / is one of).
- Status (is / is not / is one of).
- Assignee (is / is not / is set / is empty). Note there's no "is one of" here. The two extra operators are the useful ones: "is empty" catches unassigned issues, "is set" catches assigned ones.
- Label (is / is not).
- Title (contains only). A substring match, nothing fancier, so "Title contains crash" catches anything with "crash" in the summary.
One more thing worth knowing on Assignee: you can match against The person who triggered it (the @triggering_user sentinel) instead of a fixed member. So "Assignee is the person who triggered it" reacts to whoever caused the event, which is how self-referential rules work without hardcoding a name.
You can stack up to 10 conditions per rule. Here's a WEB example that narrows hard: All conditions match, Project is WEB, Type is Bug, Assignee is empty. That rule fires only on brand-new unassigned bugs in WEB and leaves everything else alone. Precise conditions are what let you trust a rule to run while you're not watching.
Stacking actions (the THEN node)
Actions are what the rule does once it matches. There are nine types, they run in the order you list them, and you can stack up to 10 per rule. Most are self-explanatory, so I'll spend the words on the ones with real behavior behind them.
The full set: Set status, Set priority, Assign to, Unassign, Add label, Remove label, Move to sprint, Add comment, Notify agent.
A few deserve detail.
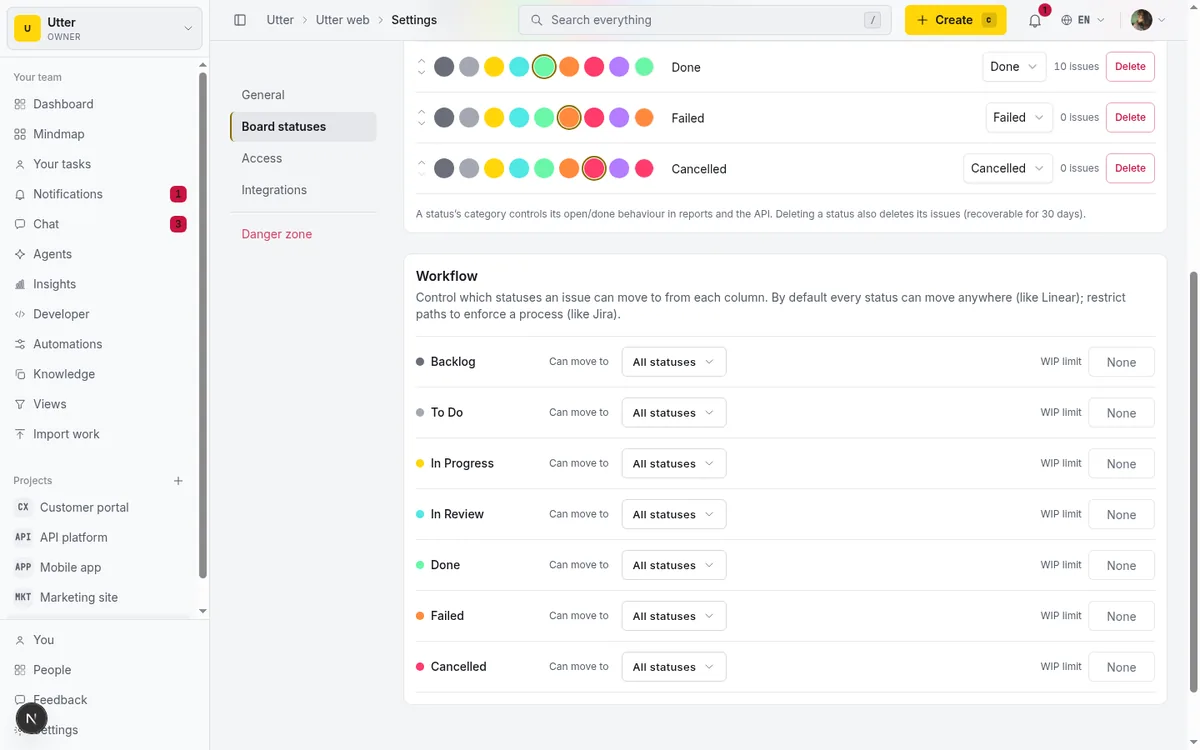
Set status respects your project's workflow transition rules. If your WEB workflow forbids jumping straight from Backlog to Done, an automation that tries it gets skipped, not forced through. The rule doesn't get to break the rules everyone else follows. When that happens the run shows as Partial (covered in the next section), so you see the skip instead of wondering why nothing moved. Set status can target Backlog, To do, In progress, In review, Done, Failed, or Cancelled.
Assign to takes either a Specific member or the Triggering user. Pick a specific member to always route to the same owner, or the triggering user to assign back to whoever caused the event. One important behavior: if you assign to an agent (a connected AI agent), that action auto-wakes it, creating a pending agent session and pushing a delegation event. So "Assign to" doubles as the way you hand work to an AI agent automatically.
Set priority takes Lowest, Low, Medium, High, Highest, or Critical.
Move to sprint offers three targets: the project's Active sprint, a Specific sprint you choose, or the Backlog. Good for pulling triaged work into the current sprint or shelving it.
Add comment posts an automated comment. Write "Auto-filed {issue}: {title}" and it renders with the real values. It supports exactly four placeholders:
| Placeholder | Renders as |
|---|---|
{issue} |
the issue key, like WEB-12 |
{title} |
the issue title |
{assignee} |
the assignee's name, or "unassigned" |
{actor} |
the name of whoever triggered the event |
Every stored automated comment is prefixed with an italic [Automated action] tag, so nobody mistakes it for something a human wrote. The in-UI hint only mentions {issue} and {title}, but all four work. There are no other tokens, so don't reach for a project or date placeholder.
Notify agent wakes a connected AI agent over its event stream without touching the issue at all. Read that twice, because it trips people up: Notify agent does not notify humans. It's agent-only. If you want to nudge a teammate, this isn't the action.
To reorder actions, use the move-up and move-down controls on each action node, and remove any you don't want. Order is real. If you Set status then Add comment, the comment can reflect the new status. Flip them and it reflects the old one.
The honest limit on actions: those nine are all there is. There's no email action, no Slack action, no webhook, no "create issue" or "create subtask" action. Automations mutate the issue that triggered them and talk to agents. They don't reach outside Utter.
Name it, toggle it on, and save
Once the flow is built, the right sidebar is where you finish. It holds the Rule name field (say "Auto-assign bugs", capped at 100 characters), the On/Off enabled toggle, a small how-it-works help card, and the Save rule and Cancel buttons.
The name isn't decoration. It's what you'll scan in the rule list and in run history six months from now, so name it for what it does, not "Rule 4."
The On/Off toggle decides whether you're saving a live rule or a disabled draft. This is the single most useful habit here: build it Off, then flip it On. Save the rule disabled, look at it sitting in the list, re-read the WHEN/IF/THEN chips, maybe create one test issue in WEB to sanity-check your conditions, and only then enable it. A rule saved On starts firing immediately, and an over-broad condition set can touch a lot of issues fast.
Saving is gated by validation. Utter won't let you save until the name is filled in, every action's required value is set (a "Set status" with no status chosen blocks the save), and every condition has a value. That's a guardrail against half-built rules that silently do nothing.
One more reason to lean on drafts: only enabled rules count against your plan cap. Disabled drafts are free. So you can keep a shelf of ready-but-off rules and switch them on as you need them, without burning your active-rule budget.
Checking the run history so you trust the rule
A rule you can't see running is a rule you won't trust, and rightly so. Every rule card has a History button that opens the Run history modal.
It shows the last 20 runs. Each row gives you a status chip (OK, Error, or Partial), the trigger that fired it, a count of "actions applied", an optional detail line, a link to the affected issue key (like WEB-12, clickable straight to the issue), and a relative timestamp. If a rule has never fired, you'll see "No runs recorded yet."
It's read-only. No re-run button, no filter, no dry-run or test feature. History is for auditing what happened, not for triggering runs.
The chip you most need to understand is Partial. It means the rule fired and matched, but at least one action got skipped. The usual causes:
- A Set status blocked by the project's workflow transition rules.
- An assignee who's no longer a member of the workspace.
- A label or sprint from a different project than the issue.
- An already-set no-op, like assigning someone who's already the assignee, or setting a status the issue already has.
Partial isn't a bug. It's the engine being honest that it couldn't fully apply your rule. And it's exactly how you debug a rule that "isn't working":
flowchart TD
    S[Rule seems broken] --> H[Open run history]
    H -- no rows --> C[Never matched, loosen a condition or recheck the trigger]
    H -- OK rows --> E[Rule fired and applied, your expectation was off]
    H -- Partial rows --> D[Read the detail line for the skipped action]
Open History and read the rows. OK rows mean the rule is firing and applying, so your expectation was probably off. Partial rows mean an action got skipped, and the detail line tells you which one and why, usually a workflow block or a stale assignee. No rows at all means the rule never matched, which almost always means a condition is too tight or the trigger isn't the event you thought it was. History turns "why didn't my rule work" from a guess into a five-second read.
Managing rules: edit, duplicate, delete, and the plan caps
Every rule card carries its own controls: an inline On/Off switch so you can pause a rule without opening it, plus History, Edit, Duplicate, and Delete.
Duplicate clones the rule and creates the copy disabled, named " (copy)". This is the right way to make a variant. Duplicate "Auto-assign bugs", open the copy, change its trigger from "Issue is created" to "Issue is assigned", rename it, enable it. That's your second rule for the same actions on a different event.
Delete asks first, with a confirm dialog titled "Delete automation rule", so you won't nuke a rule with a stray click.
Permissions matter here. Creating, editing, enabling, duplicating, and deleting rules all require the workspace.edit_settings permission, which means owners and admins. Members and viewers get a read-only page ("You do not have permission to edit automations.") and can't build or change rules. They can still open History, which is genuinely useful, since anyone should be able to see why an issue got auto-assigned.
Now the plan reality, stated plainly because it changes what you can do. Automations are a paid feature, on Pro and Business only. A Free workspace can see the Automations page but can't run rules. The upgrade message reads "Automations are available on Pro and Business plans. Upgrade to enable them." Don't plan a Free-tier workflow around this.
The active-rule caps:
- Free: 2 (page visible, rules don't run)
- Pro: 20
- Business: unlimited
Only enabled rules count toward the cap, so disabled drafts never eat into it. When you hit the ceiling, the + New automation button goes disabled with a cap hint, and the "{used} / {limit} automations" counter tells you exactly where you stand. If you're at 20 on Pro and want a new rule, disable one you're not using or clear out dead ones.
The same rules over the REST API
Everything the builder does is also on Utter's public REST API, which matters the moment you want rules kept in version control or provisioned by a script. Rules live at /v1/workspaces/{slug}/automations, and each rule's history at /v1/workspaces/{slug}/automations/{id}/runs. Reads need a key with the automations:read scope. Writes need automations:write on a key whose creator can edit workspace settings, and the same plan gate and enabled-rule cap apply, so the API can never mint a rule the builder would refuse.
Here's the "Triage new bugs" rule from earlier, created disabled so you can review it in the UI before switching it on:
curl -X POST https://utter.ae/api/v1/workspaces/utter/automations \
  -H "Authorization: Bearer utp_live_a1b2..." \
  -H "Content-Type: application/json" \
  -d '{
    "name": "Triage new bugs",
    "trigger": "issue.created",
    "conditions": {
      "match": "all",
      "rules": [{ "field": "type", "op": "is", "value": "bug" }]
    },
    "actions": [
      { "type": "set_status", "status": "todo" },
      { "type": "set_priority", "priority": "high" }
    ],
    "enabled": false
  }'
const res = await fetch("https://utter.ae/api/v1/workspaces/utter/automations", {
method: "POST",
headers: {
Authorization: "Bearer utp_live_a1b2...",
"Content-Type": "application/json",
},
body: JSON.stringify({
name: "Triage new bugs",
trigger: "issue.created",
conditions: {
match: "all",
rules: [{ field: "type", op: "is", value: "bug" }],
},
actions: [
{ type: "set_status", status: "todo" },
{ type: "set_priority", priority: "high" },
],
enabled: false,
}),
});
const rule = await res.json();import requests
rule = requests.post(
"https://utter.ae/api/v1/workspaces/utter/automations",
headers={"Authorization": "Bearer utp_live_a1b2..."},
json={
"name": "Triage new bugs",
"trigger": "issue.created",
"conditions": {
"match": "all",
"rules": [{"field": "type", "op": "is", "value": "bug"}],
},
"actions": [
{"type": "set_status", "status": "todo"},
{"type": "set_priority", "priority": "high"},
],
"enabled": False,
},
).json()Check on the rule later with the runs endpoint, which returns the same OK, Partial, and Error statuses the History modal shows:
curl https://utter.ae/api/v1/workspaces/utter/automations/AUTOMATION_ID/runs \
  -H "Authorization: Bearer utp_live_a1b2..."
If you're new to the API itself, the walkthrough on how to use the REST API covers keys, scopes, and the /v1/me sanity check.
Limits worth knowing before you rely on this
A few hard constraints, because the whole point of automation is trusting it while you look away, and you can only do that if you know where the edges are.
Rules do not chain. When an action writes to an issue, that write doesn't re-enter the automation engine. So one rule cannot trigger another rule, and a rule cannot trigger itself. This is intentional. If your "Set status to Done" fires, it will not wake up a separate "when status changes to Done" rule. Design each rule to do its full job on its own trigger. Don't build a Rube Goldberg chain expecting one rule to kick off the next.
Actions are best-effort and can no-op silently, surfacing as Partial in history. A blocked workflow transition, an ex-member assignee, a cross-project label or sprint, a concurrent edit, or an already-set value will each cause that one action to skip. The rule still runs. That step just does nothing. Check history if the outcome surprises you.
Fan-out is capped at 50 rules per event. If a single event somehow matches more than 50 rules, only 50 run. In practice you'll never hit this, but it exists.
There are value caps. Condition string values top out at 500 characters, an "is one of" list at 50 items, comment bodies at 2000 characters, and rule names at 100 characters. Reasonable ceilings, worth knowing before you paste a wall of text into a comment action.
No time or schedule triggers. Worth repeating because it's the most common wrong assumption. Nothing fires on a clock, a due date, or a sprint starting. Rules react to the six issue and comment events, and only those.
Notify agent is agent-only. It wakes a connected AI agent and nothing else. It is not a human notification channel.
If your need runs past these edges, Utter has adjacent tools that pick up where rules stop. For routing new work by content and severity, see AI issue triage that assigns and prioritizes. For catching work from outside your team, turn a request form into a triaged issue and the walkthrough on how to set up a request form. And when an AI agent should act but a human should sign off first, read human-in-the-loop approval for AI agents.
Start with one rule. Pick the three clicks you do most, turn them into a "Triage new bugs" recipe scoped to your project, save it Off, test it once, then flip it On. Open the Automations page and write your first one.
Frequently asked questions
What is a project management automation rule in Utter?
It's a workspace-scoped rule that watches for one issue or comment event, checks it against your conditions, and runs a set of actions automatically. You read it as a sentence: when something happens, if it matches your conditions, then run these actions. Rules apply across every project in the workspace unless you add a Project condition to scope them.
Which trigger events can start an automation rule?
Six: Issue is created, Issue status changes, Issue priority changes, Issue is assigned, Issue is unassigned, and Comment is added. Each rule uses exactly one trigger. There is no sprint-start, due-date, schedule, or label-change trigger.
How do I auto-assign issues when they are created?
Set the trigger to "Issue is created", add conditions to target the right issues (for example Project is WEB and Type is Bug), then add an "Assign to" action pointing at a specific member or the triggering user. Name it, save it, and enable it. The "Assign on create" starter recipe gives you this pre-filled.
Are automations available on the Free plan, and how many rules can I have?
Automations run on Pro and Business only. A Free workspace can see the page but cannot run rules. Active-rule caps are Free 2, Pro 20, and Business unlimited, and only enabled rules count against the cap, so disabled drafts are free.
Can one automation rule trigger another rule?
No. Rules do not chain. An action's write to an issue does not re-enter the automation engine, so one rule cannot trigger another rule or itself. This is intentional in the current version. Design each rule to do its complete job on its own trigger.
What does a "Partial" status mean in a rule's run history?
It means the rule fired and matched, but at least one action was skipped. Common causes are a status change blocked by your workflow transition rules, an assignee who is no longer a member, a label or sprint from a different project, or an action that was already applied (a no-op). The detail line in run history tells you which action was skipped.
What placeholders can I use in an automated comment?
Exactly four: {issue} (the issue key), {title}, {assignee}, and {actor}. Every automated comment is also prefixed with an italic [Automated action] tag. There are no other placeholder tokens.
Who is allowed to create and edit automation rules in a workspace?
Creating, editing, enabling, duplicating, and deleting rules requires the workspace.edit_settings permission, which owners and admins have. Members and viewers get a read-only page and cannot change rules, though they can still open a rule's run history.
Related reading
Auto-triage new issues with AI: a setup that actually assigns, labels, and prioritizes
How to set up AI issue triage automation that classifies severity, labels, and routes new bugs and requests, with an honest line on what to let AI decide.
May 27, 2026 · 8 min read

How to automate project management with AI, and what to leave manual
The right order to automate project management with AI: reporting first, intake second, execution agents last, and the decisions that should stay human.
July 15, 2026 · 8 min read
How to organize work with epics and subtasks
Learn Utter's epics, stories, tasks, subtasks hierarchy: group work under an epic, break issues into subtasks, read the progress bar, and the rules it enforces.
July 15, 2026 · 17 min read
Chat with your AI agents, then put them in a workflow
Utter lets you DM an AI agent or @mention it in a channel, watch it work, and connect agents and people on a canvas so a ticket routes itself through triage, build, and review.
July 17, 2026 · 7 min read
What is agentic project management? A plain-language guide with a working example
A copilot waits for your prompt. An agent acts on an event. Here is the perceive-plan-act-check loop explained, with one real end-to-end run inside Utter.
June 11, 2026 · 11 min read
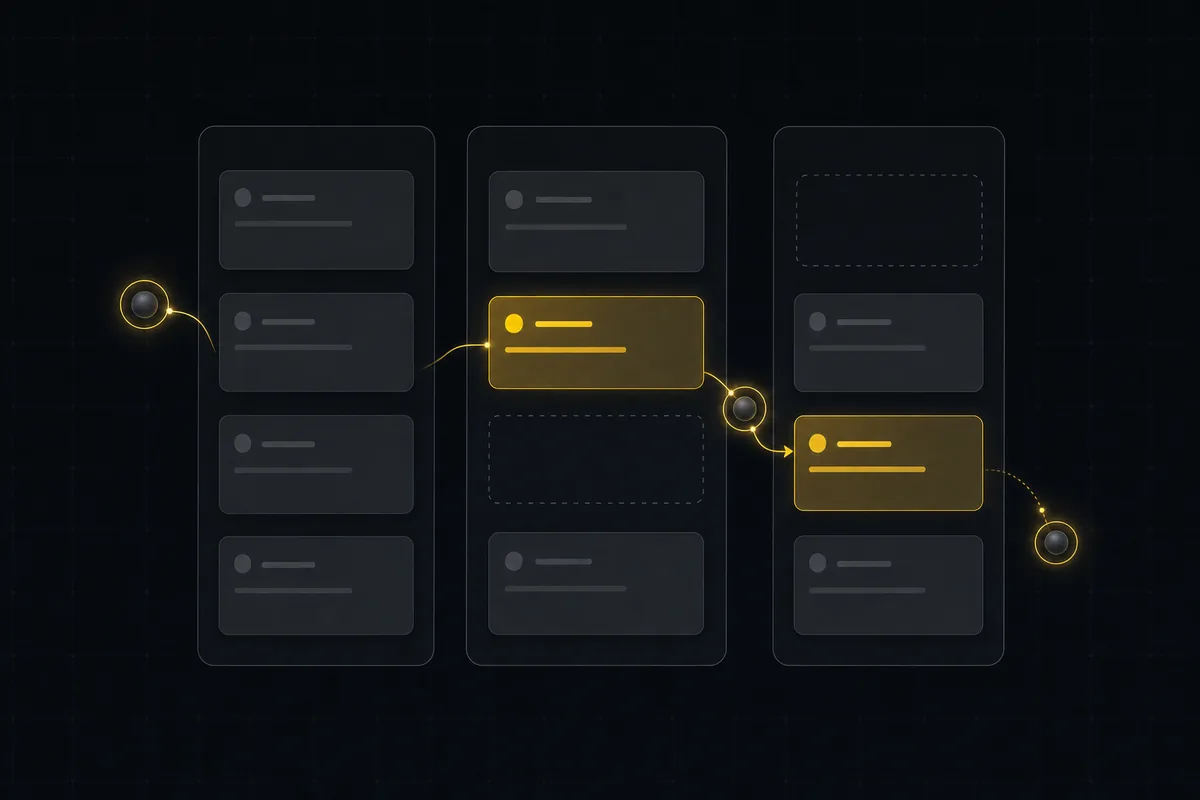
Running a project with AI agents without losing the thread
A practical setup for letting AI agents do real project work, create issues, move the board, draft specs, while your team keeps control of what matters.
July 11, 2026 · 5 min read

Who decides what: setting decision rights between your team and your AI agents
A simple rule for AI governance: reversible, low-stakes moves are the agent's to make; irreversible or high-stakes ones need a human. How to draw the line.
July 15, 2026 · 7 min read

Keyboard shortcuts in utter
Every keyboard shortcut in Utter: the ? overlay, command palette, quick create, g-chords, and a/s/p/l/m field pickers, where each fires, and how to learn them.
July 15, 2026 · 15 min read

How to give an AI agent human-in-the-loop approval before it changes your issues
Build an approval gate for AI agents in Utter: let the agent triage into a Needs review column, a human moves it forward, and transition rules stop skips.
May 20, 2026 · 9 min read
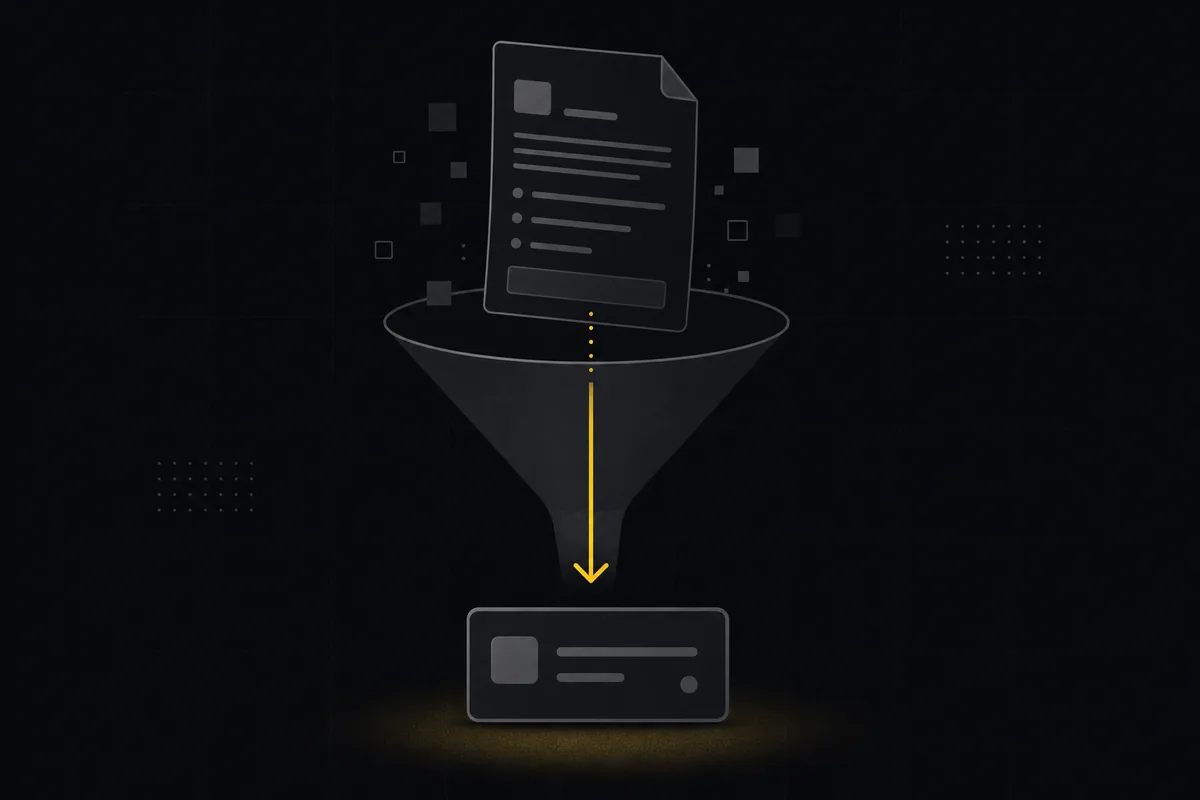
Turn a request form into a triaged issue automatically (no human inbox in the middle)
How to wire a public intake form to a tracked, classified issue: routing defaults, an issue.created automation, and an AI triage first pass.
June 16, 2026 · 7 min read
Add a comment
Start the conversation.